

There are many locations in Marvel Snap, and they heavily contribute for each match to feel unique despite using the same decks. They also shift the powers between archetypes, having some locations that synergize better or worse with some decks makes for a less stale meta and a less predictable match.
A generally weaker deck can pull off more valuable wins when in better synergy with the locations. Also, despite the game being a point contest, the locations contribute both to the Marvel universe setting and also to the feeling of a battle. A battlefield should normally be uneven and provide more advantages to one of the sides.
Here is a list of all the updated locations in the game, along with some general tips on which cards synergize better with a location and which cards get countered. This can be useful both to evaluate your power when fighting there and also which changes can be considered for any deck should each specific featured location. It’s also important to notice that while I might mention some cards in the third pool, they won’t be the focus here since any specific card is far less likely for anyone to have.
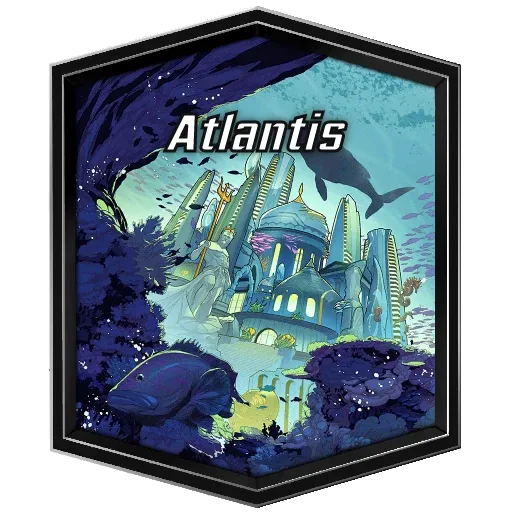 AtlantisIf you only have one card here, it has +5 Power.
Atlantis AtlantisIf you only have one card here, it has +5 Power. is a weird location: if you use its effect, that normally means it’s pretty easy for your opponent to snatch it from you should they want to. Nevertheless, Namor 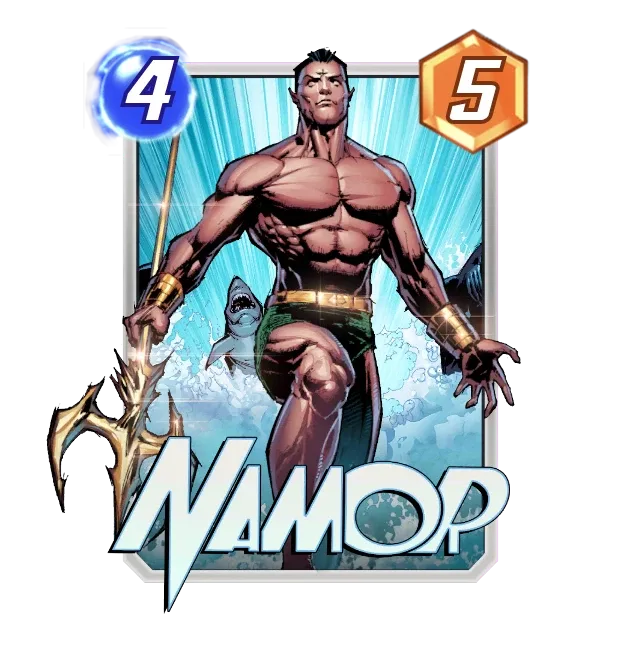 NamorOngoing: +5 Power if this is your only card here. is a great card to apply a lot of pressure and to make this steal harder for a cheap cost.
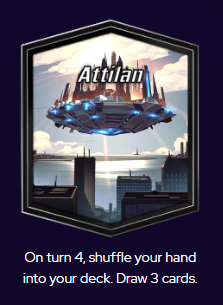
Attilan is weird. It makes discard decks ultra-reliable since you can discard and be on fewer than 3 cards as it gets activated, turning it into Nova Roma 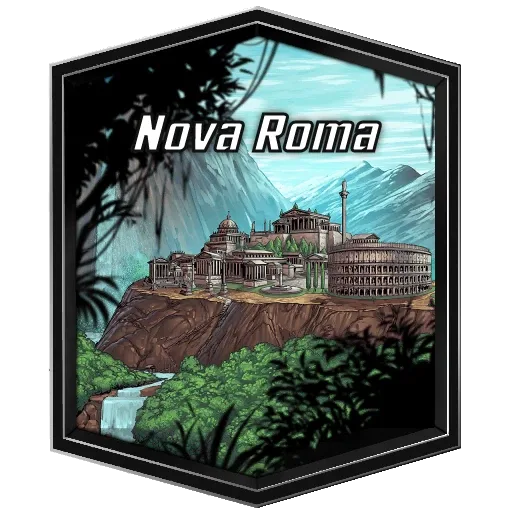 Nova RomaDraw a card. or Olympia
  OlympiaDraw 2 cards. just for you. Other than that, it denies some power for any decks relying on many high-cost units, since it diminishes your hand size.
 Avengers CompoundOn turn 5, all cards must be played here.
Well, even though the guardians of the galaxy are better with Avengers Compound Avengers CompoundOn turn 5, all cards must be played here., they are quite bad even when activated, except for Rocket Raccoon  Rocket RaccoonOn Reveal: If your opponent played a card here this turn, +2 Power.. Another great card for this location is Iron Man
  Iron ManOngoing: Your total Power is doubled at this location.: it’s very hard to swing a location where Iron Man Iron ManOngoing: Your total Power is doubled at this location. was played, and so forcing them to play where they’re gonna lose anyway is exceptional for you. Honorable mention here to Spider-Man
 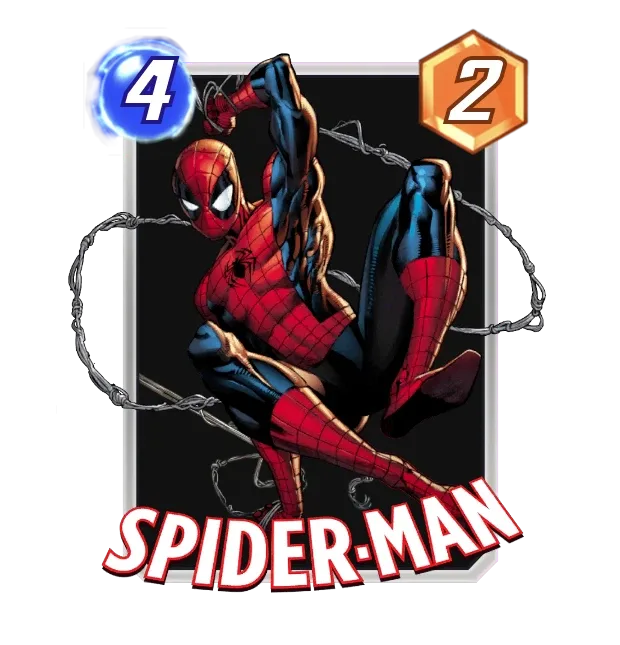 Spider-ManOn Reveal: Your opponent can’t play cards at this location next turn.: even though it’s a pool 3 card, it is hands down the best card in with Avengers Compound Avengers CompoundOn turn 5, all cards must be played here., since it makes your opponent completely skip turn 5.
The newest location we have was already featured this week. Much like Attilan 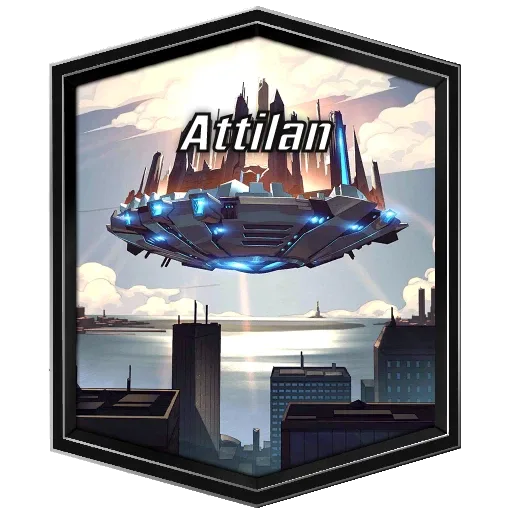 AttilanOn turn 4, shuffle your hand into your deck. Draw 3 cards., discard excels here, but for a different reason: since discard cards tend to be more tempo oriented and make a lot of points during the game, they can ensure you’ll be winning when it activates. Scarlet Witch
 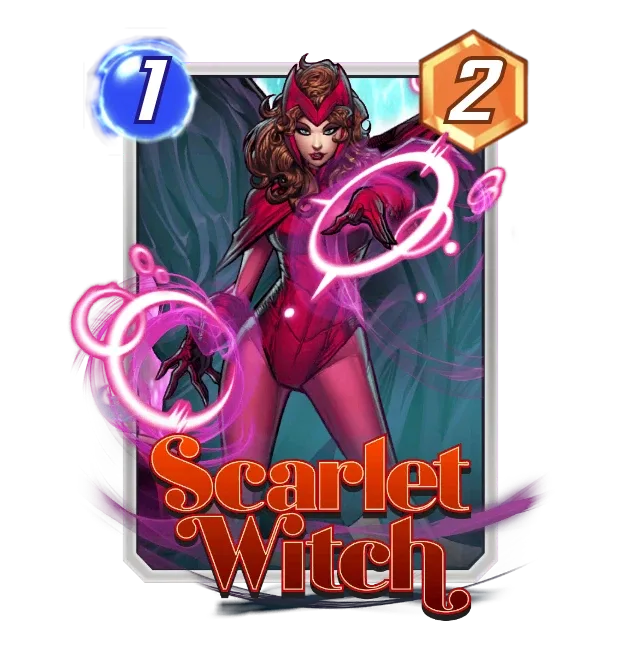 Scarlet WitchOn Reveal: Replace this location with a random new one. can also be great by baiting out a lot of enemy resources that won’t be replenished as he planned.
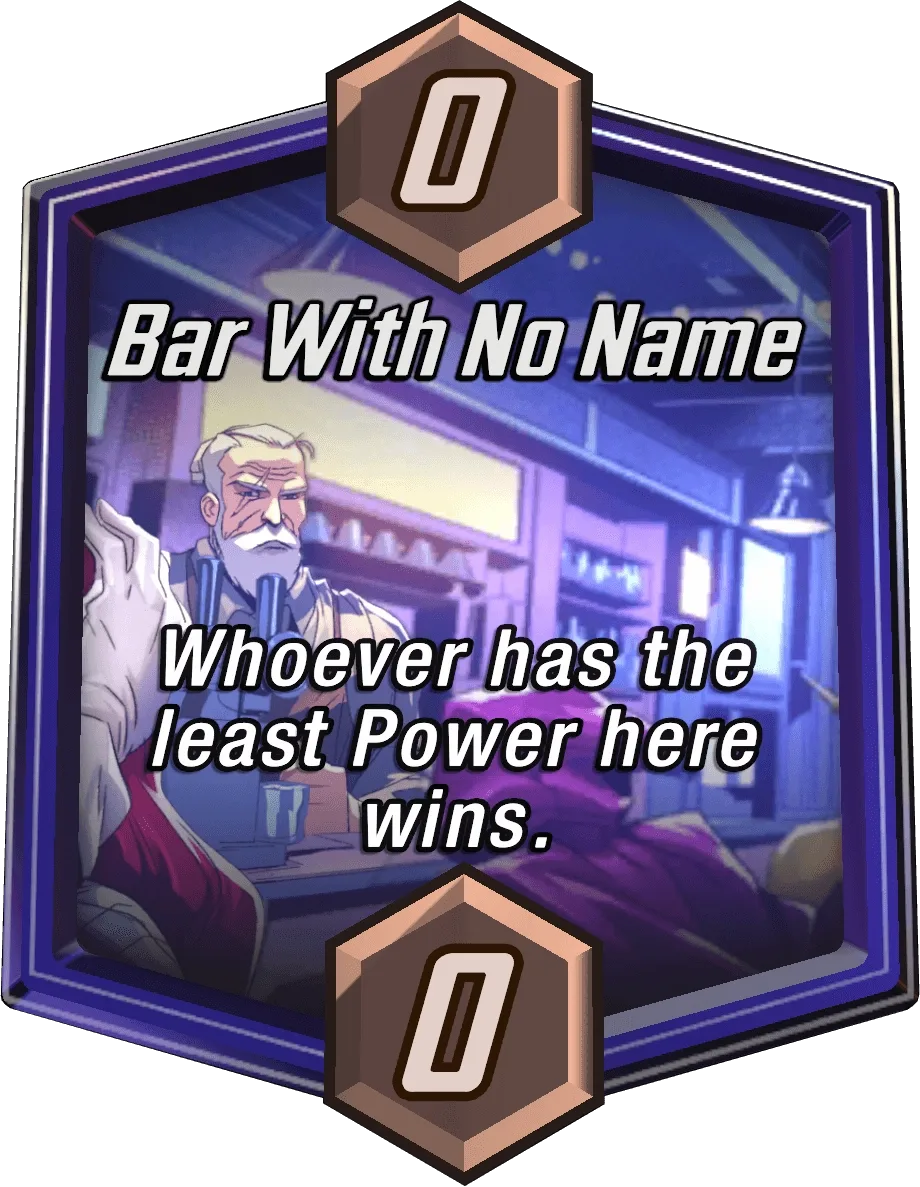 Bar With No NameWhoever has the least Power here wins.
Storm 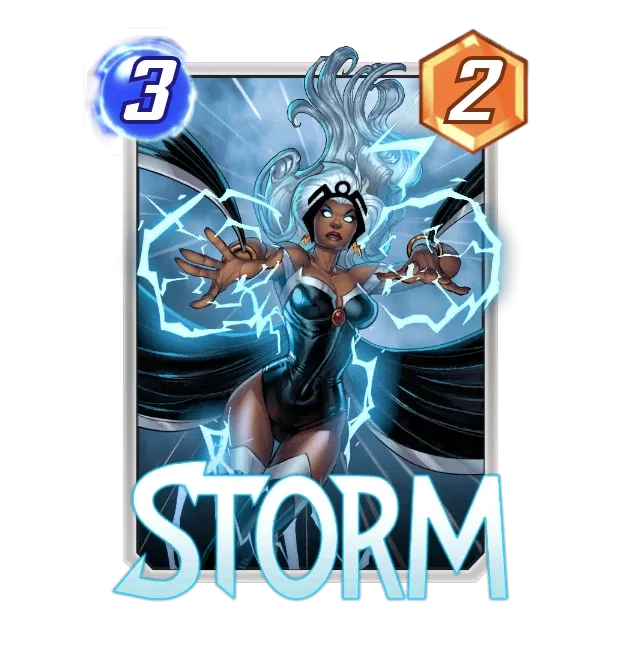 StormOn Reveal: Flood this location. Next turn is the last turn cards can be played here., Scarlet Witch Scarlet WitchOn Reveal: Replace this location with a random new one., Rhino
 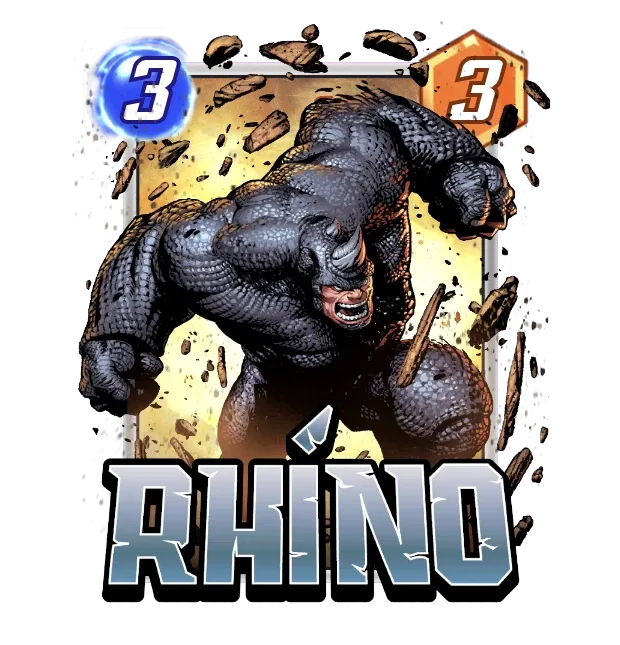 RhinoOn Reveal: Ruin this location. (remove its ability). Anything that deactivates this on the last turn, when your opponent can’t play anymore and just ensures your easy win. It also counters swarm decks in general, since you get 9 cards per game, and those are at least 9 slots, which means 1 in this location, enough for you to lose it. The Hood
 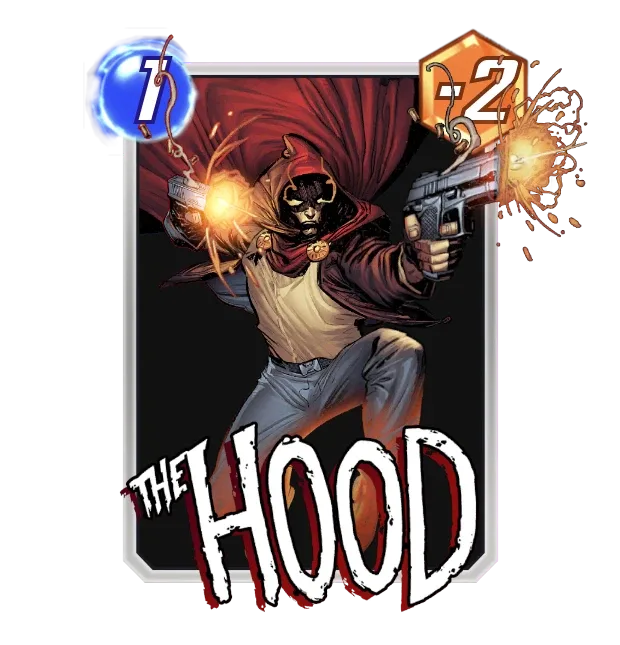 The HoodOn Reveal: Add a Demon to your hand. is also a great card to just make yourself negative and win here.
 Baxter BuildingWhoever is winning this location gets +3 Power at the others.
This location begs you to win it. It’s great with Iron Man Iron ManOngoing: Your total Power is doubled at this location., The Infinaut  The InfinautIf you played a card last turn, you can't play this. cheating decks, and even Hobgoblin
  HobgoblinOn Reveal: Your opponent gains control of this. since people want to leave a flexible slot for the last turn.
 Central ParkAdd a Squirrel to each location.
Obviously, Kazar is the best here. It’s important to notice that you normally have 12 slots, 9 cards over the game, and this consumes 3, so you have to see whether you’ll end up with dead cards due to not having slots on the field.
 Cloning VatsWhen you play a card here, add a copy to your hand.
Cloning Vats Cloning VatsWhen you play a card here, add a copy to your hand. completely changes how you should play a match. You can recursively play only your best cards repeatedly, making for a big difference in your energy usage. As for specific cards; The Collector 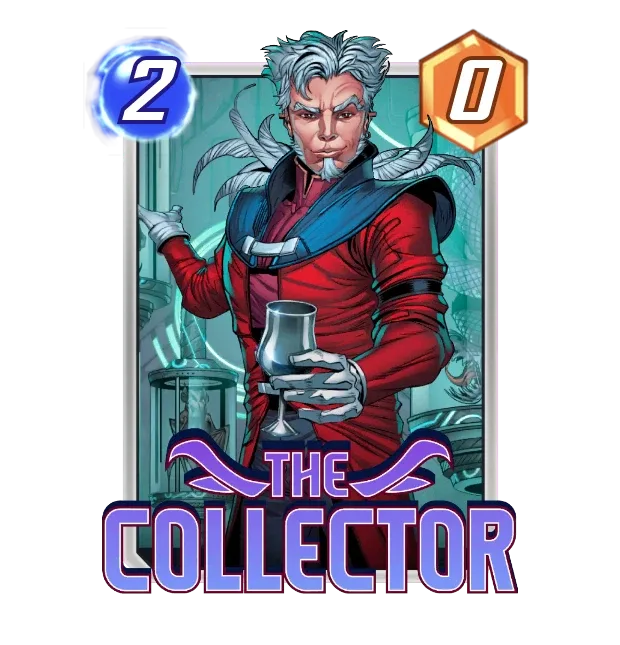 The CollectorWhen a card enters your hand from anywhere (except your deck), +2 Power., Venom
 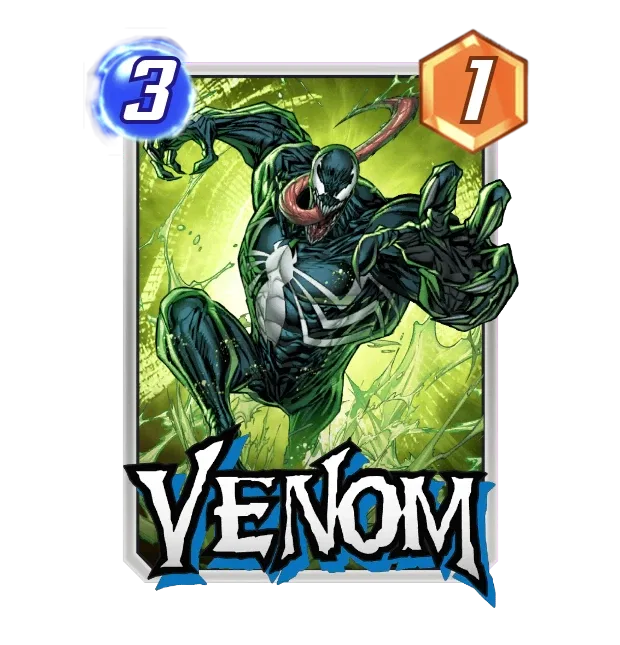 VenomOn Reveal: Destroy your other cards at this location. Add their Power to this card., and Carnage
 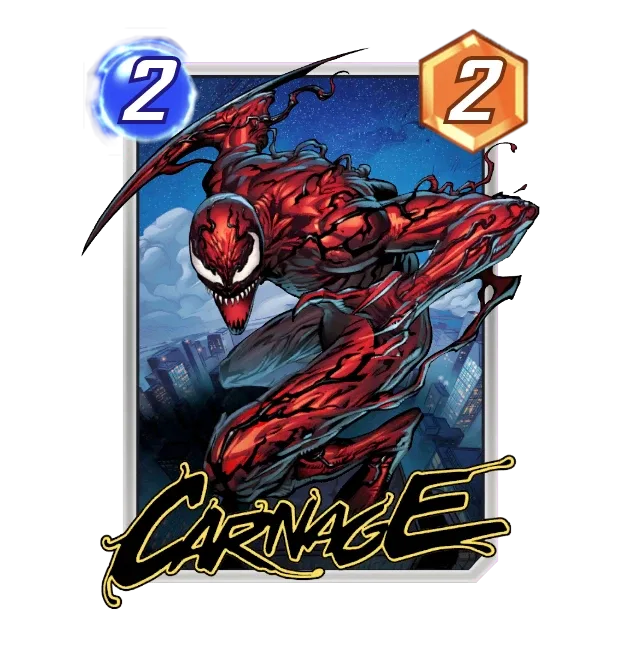 CarnageOn Reveal: Destroy your other cards here. +2 Power for each destroyed. are the strongest. Carnage CarnageOn Reveal: Destroy your other cards here. +2 Power for each destroyed.+ The Collector The CollectorWhen a card enters your hand from anywhere (except your deck), +2 Power. is basically unbeatable since The Collector The CollectorWhen a card enters your hand from anywhere (except your deck), +2 Power. will be growing from every card played and Carnage CarnageOn Reveal: Destroy your other cards here. +2 Power for each destroyed. will be growing whilst making room for more cards. It’s important to notice that every card played keeps its buffs when copied AFTER their reveal effects take place.
 Crimson Cosmos1, 2, and 3-Cost cards can't be played here.
Plain and simple, if you depend on Kazar, just give up this location. You rely on heavy units here, and Iron Man Iron ManOngoing: Your total Power is doubled at this location. is not one of them because you’d need another big one to give enough points. Movement archetype can play around it easily, though.
 Danger RoomCards played here have a 25% chance to be destroyed.
This location three-quarters of the time doesn’t do anything. It’s always risky to play here, so if you have the choice, prefer playing cards with strong reveal effects that are not connected to their body, like Jubilee 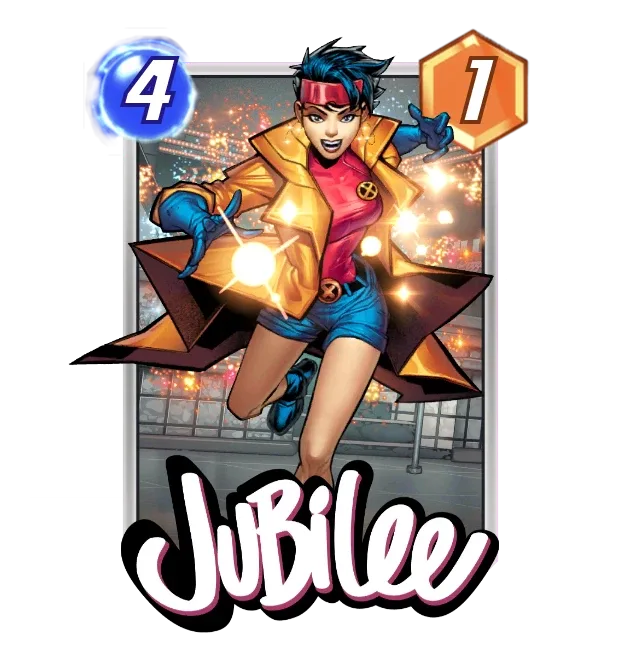 JubileeOn Reveal: Play the top card of your deck at this location. and Ghostrider.
 Dark DimensionCards played here are not revealed until the game ends.
To make the best use of this location, you have to deceive your opponent regarding the number of resources spent here. So cards that are played here but their power is elsewhere are the way to go. White Tiger 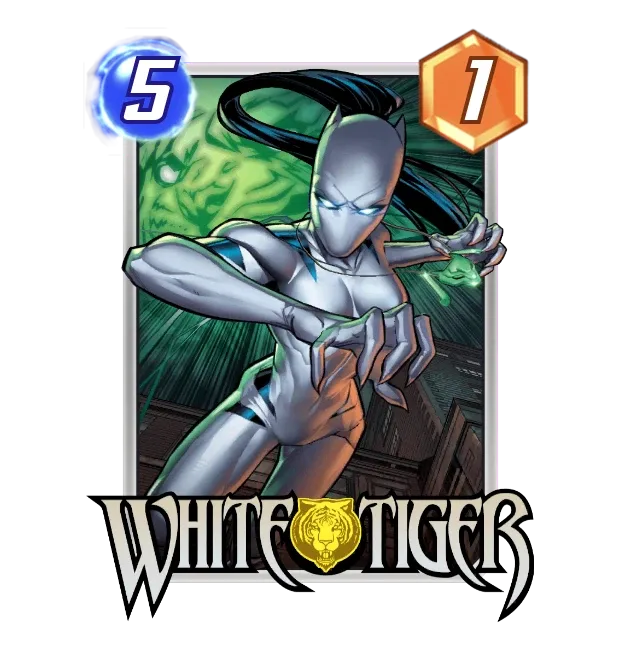 White TigerOn Reveal: Add a 7-Power Tiger to another location., Ironheart
  IronheartOn Reveal: Give 3 other cards +2 Power., and others all make it seem like you committed so that your opponent will either overcommit or give up the location, while your on-reveal effects allow you to snatch at least one of the other locations.
This can be treated as a Bar With No Name Bar With No NameWhoever has the least Power here wins. on the last turn, or you can use on reveal effects that add other units to this location to avoid its effect, like Jubilee JubileeOn Reveal: Play the top card of your deck at this location.. Also, Professor X  Professor XOngoing: Lock down this location. (Cards can't be added, removed, or destroyed.) can lock it down while not being destroyed and preventing the enemy effects that add units should he reveal it later on in the round.
 District XReplace both decks with 10 random cards.
There’s not much to be said about this one. Retreat when snapped if you are given a bad deck.
 Dream DimensionOn turn 5, cards cost 1 more.
Dream Dimension Dream DimensionOn turn 5, cards cost 1 more. is the doom for any deck relying on America Chavez  America ChavezYou always draw this card on turn 6, and not before. or 5 cost cards. You can’t dump your hand and you can’t play 5 costers on turn 5. If you’re playing neither, chances are this location is going to hurt your opponent more than you.
 EgoEgo takes over and plays your cards for you.
Same as District X District XReplace both decks with 10 random cards..
 ElysiumCards cost 1 less.
One of the more powerful locations in the game. Miracle decks can combo with a 7 card hand, and high-cost decks receive their free ramp and can start playing bombs as early as turn 3 given ideal conditions. One card I would recommend is Professor X Professor XOngoing: Lock down this location. (Cards can't be added, removed, or destroyed.). Since people are incentivized to play later and he can come down sooner, chances are he locks a win for you on turn 4.
 Grand CentralAt the end of turn 5, put a card from each player's hand here.
While this should be a location that helps you use your cards, there are many undesirable pulls. Combo pieces or discard cards that you nullify the discard by playing with an empty hand can make you uneasy if played. You can fill here to nullify this randomness, and using a moving card like Nightcrawler  NightcrawlerYou can move this once. should make you able to invest more/less depending on the opponent's move.
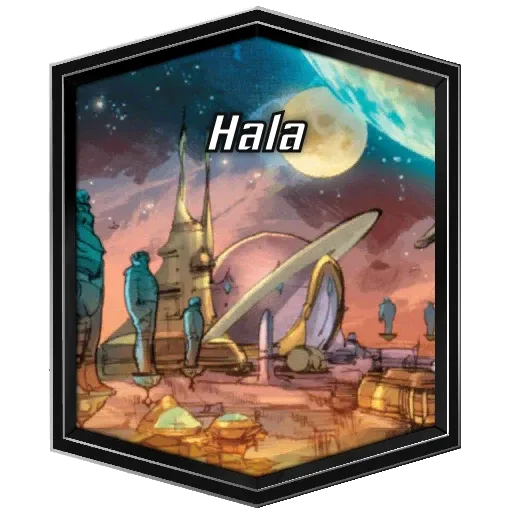 HalaAt the end of turn 4, destroy all cards controlled by the player losing here.
Having cards that do something when destroyed, like Bucky Barnes  Bucky BarnesWhen this is destroyed, create the Winter Soldier in its place., is probably the best way to use this location. Sadly, your opponent can just avoid playing here completely, and there’s not really much you can do about it. From pool 3 there are the cards that can do more with this location: Polaris
  PolarisOn Reveal: Move an opposing 1 or 2-Cost card to this location. and Quake
  QuakeOn Reveal: If this is at the middle location, swap the positions of each location..
 Hellfire Club1-Cost cards can't be played here.
The less relevant version of Crimson Cosmos Crimson Cosmos1, 2, and 3-Cost cards can't be played here.. It’s much easier to avoid it since you’d need 9+ 1 cost cards to be really stopped by this. Just remember it’s harder to flood it in the last turn for miracle decks.
This is a very irrelevant location. It helps movement decks, and any deck can play Nightcrawler NightcrawlerYou can move this once. elsewhere and move here.
 Kamar-TajOn Reveal effects happen twice at this location.
As expected, use cards with strong On Reveal effects, but especially ones that play for other locations. Jubilee JubileeOn Reveal: Play the top card of your deck at this location. fills this location with cards you can’t really be sure that have On Reveal effects, so while she has a great On Reveal, you’d rather use something like White Tiger White TigerOn Reveal: Add a 7-Power Tiger to another location. here.
 KlyntarCards here have -2 Power.
Middle version of the 3 power denying locations. Save stronger solo cards for Klyntar KlyntarCards here have -2 Power. to avoid having to spend too many resources to fight a single opposing card. Don’t play Iron Man Iron ManOngoing: Your total Power is doubled at this location. here.
 KnowhereWhen you play a card here, destroy it.
If they don’t happen, don’t use them! Also, you can take advantage that all the cards that counter Ongoing effects are On Reveal, so feel free to use them. There are some negative On Reveal effects, like Destroyer  DestroyerOn Reveal: Destroy your other cards., from pool 3, that you can also take advantage of having their effect nullified.
 KylnYou can't play cards here after turn 4.
Movement and area buffs like Kazar can overcome the locked-down nature of Kyln KylnYou can't play cards here after turn 4.. Be wary of those to see if Kyln KylnYou can't play cards here after turn 4. can still be swung in order to calculate whether you should go all-in into one location or split your efforts. One notable use here is Jubilee JubileeOn Reveal: Play the top card of your deck at this location. + America Chavez America ChavezYou always draw this card on turn 6, and not before. since Kyln KylnYou can't play cards here after turn 4. will be working like a Storm StormOn Reveal: Flood this location. Next turn is the last turn cards can be played here. that you don’t even have to play.
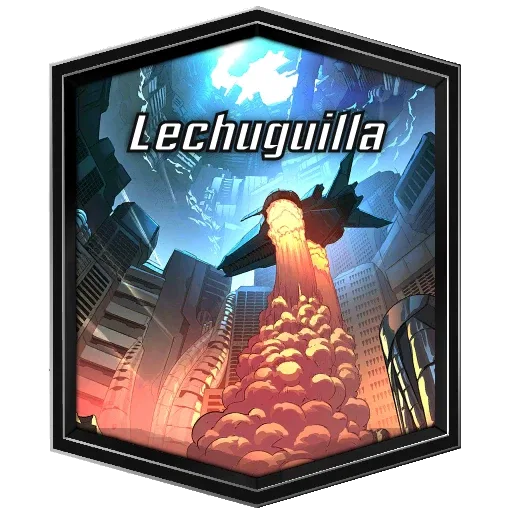 LechuguillaWhen you play a card here, shuffle 3 rocks into your deck.
This location taxes you so much for playing on it. Even playing 1 card on turn 5 leads you to 42.85% odds of drawing a rock. So you have 3 options: try to play in it only on turn 6, use a heavy deck that you don’t really mind drawing rocks because you’re flooded with high-cost cards anyway, or use America Chavez America ChavezYou always draw this card on turn 6, and not before. to unlock yourself on turn 5, allowing you to play here in 2 turns.
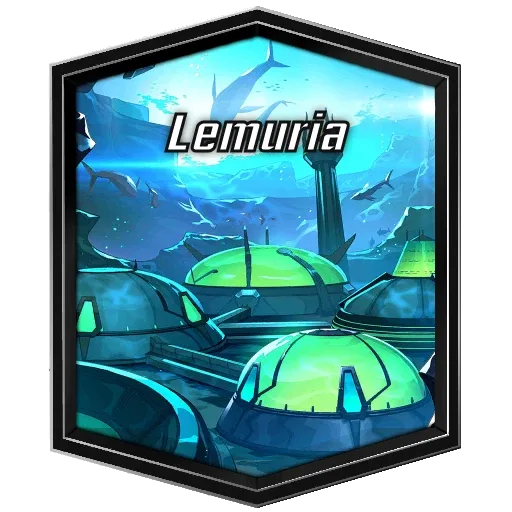 LemuriaNo cards are revealed this turn.
This is a much smaller version of Dark Dimension Dark DimensionCards played here are not revealed until the game ends.. In general, it hurts Nakia 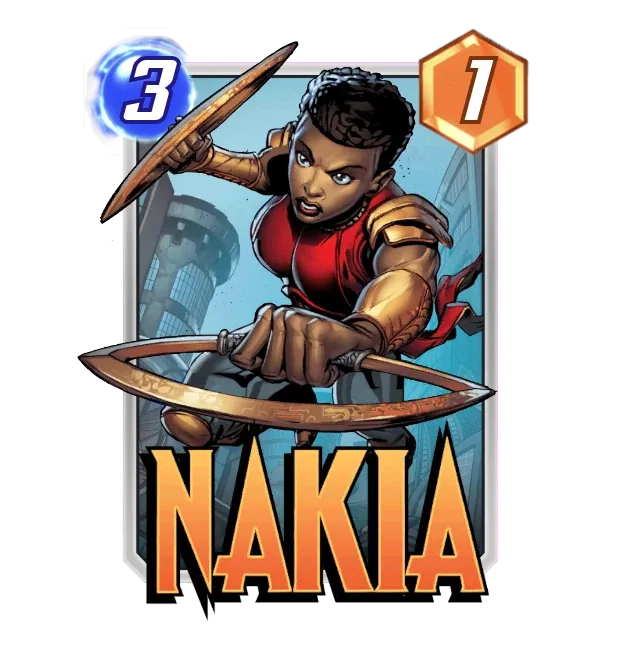 NakiaOn Reveal: Give all cards in your hand +2 Power. and Okoye
 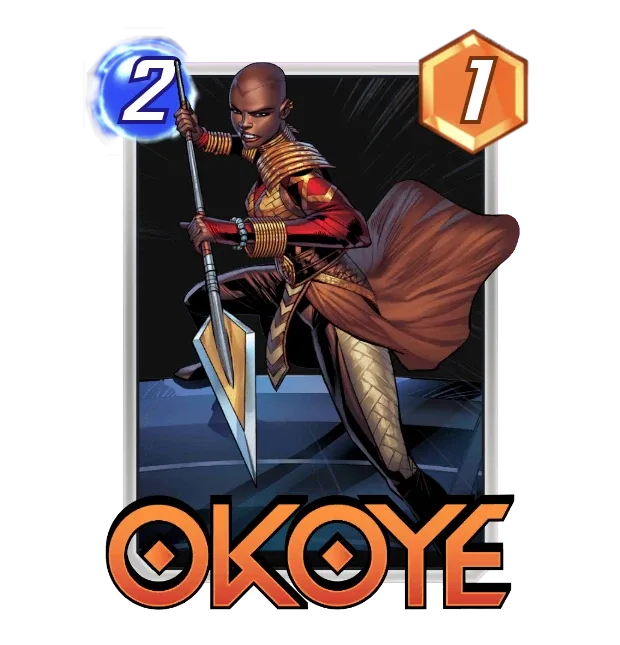 OkoyeOn Reveal: Give every card in your deck +2 Power. decks very softly, and it can help enable some early discard combos. Doesn’t impact the game too much, nevertheless.
 LimboThere is a turn 7 this game.
Strong Guy 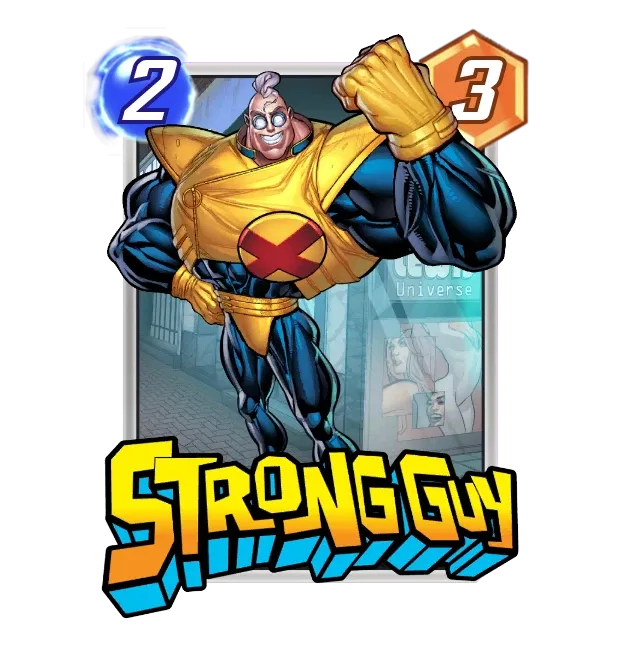 Strong GuyOngoing: If your hand is empty, +6 Power. and America Chavez America ChavezYou always draw this card on turn 6, and not before. worst enemy. A Limbo LimboThere is a turn 7 this game. game is a game where you want to be on over-committed heavy cards, like Iron Man Iron ManOngoing: Your total Power is doubled at this location., Leech
  LeechOn Reveal: Remove the abilities from all cards in your opponent's hand., and Hobgoblin HobgoblinOn Reveal: Your opponent gains control of this.. Location disruption also works well to bring the game to a sudden end if you can’t play the last turn well.
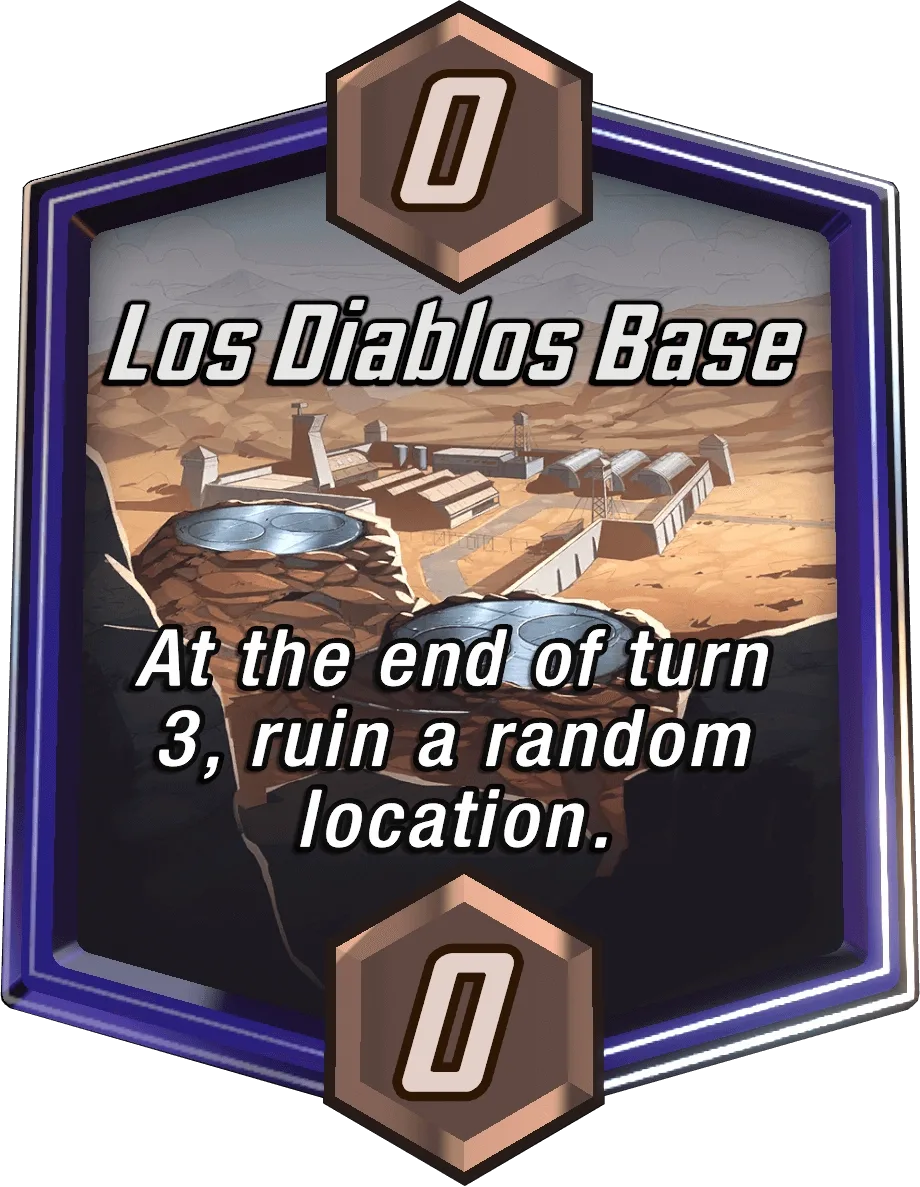 Los Diablos BaseAt the end of turn 3, ruin a random location.
Here you’re just playing a normal game, it denies many of the most relevant locations. I guess this counters the location disruption cards since they lose most of their value.
 MindscapeAt the start of turn 6, swap hands.
Mindscape MindscapeAt the start of turn 6, swap hands. is friends with Strong Guy Strong GuyOngoing: If your hand is empty, +6 Power. - he won’t be activated, but your opponent won’t have a relevant turn 6 while you most likely will. America Chavez America ChavezYou always draw this card on turn 6, and not before. is a great 6 drop here, she’s the only reliable 6-cost unit when Mindscape MindscapeAt the start of turn 6, swap hands. is in the game. Of course, remember that cards which discard cards are great here, so you can hurt your hand to give them nothing while you take what they have.
 Miniaturized LabOn turns 3, 4, and 5, no cards can be added here.
Unlike other play restriction locations, Miniaturized Lab Miniaturized LabOn turns 3, 4, and 5, no cards can be added here. also prevents cards from being added, making for a harsher power denial. This means you’ll decide your battles elsewhere before 6, and on 6 most of the resources should come here if you have a strong standalone play. Having one turn only to play in a location with no setup is a gamble, though. Try to evaluate if you can really put up a fight.
 Mirror DimensionAt the end of turn 3, transform into one of the other locations.
If you take 1 word from each location definition to make a sentence, it will make as much sense as giving tips to Mirror Dimension Mirror DimensionAt the end of turn 3, transform into one of the other locations.. This can’t be evaluated alone.
 MojoworldWhoever has more cards here gets +100 Power.
Just use Elektra  ElektraOn Reveal: Destroy a random enemy 1-Cost card at this location. on turn 6 for an easy win destroying their 4th unit. Other than that, prevent yourself from using 1 cost units here because they’re so fragile that you don’t take Elektra ElektraOn Reveal: Destroy a random enemy 1-Cost card at this location..
 Monster IslandAdd a 9-Power Monster here for each player.
There are 2 cards that stand out in this location. First, is Shang-Chi 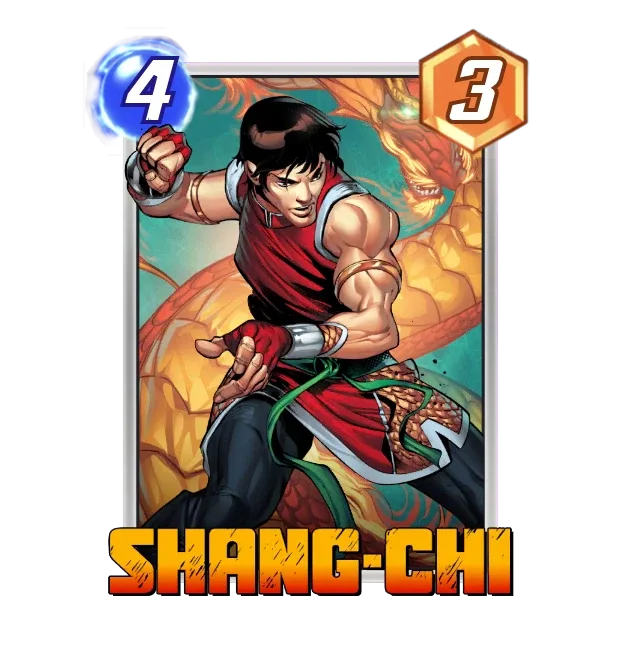 Shang-ChiOn Reveal: Destroy all enemy cards at this location that have 9 or more Power., since he kills the monster. The second is Iron Man Iron ManOngoing: Your total Power is doubled at this location. because since you have a free 9-pointer, Iron Man Iron ManOngoing: Your total Power is doubled at this location. has a big head start. Also, if this location is featured, consider using armor to counter their Shang-Chi Shang-ChiOn Reveal: Destroy all enemy cards at this location that have 9 or more Power..
 Monster MetropolisThe cards with the highest power here get +3 Power.
The funny thing about this location is that on ties, that power buff is applied to all tied units. You’re probably not going to be able to take advantage of that, though. High-power single cards like Strong Guy Strong GuyOngoing: If your hand is empty, +6 Power., America Chavez America ChavezYou always draw this card on turn 6, and not before., The Infinaut The InfinautIf you played a card last turn, you can't play this., Sunspot  SunspotAt the end of each turn, gain +1 Power for each unspent Energy., and The Collector The CollectorWhen a card enters your hand from anywhere (except your deck), +2 Power., all go a long way here. Unlike in Atlantis AtlantisIf you only have one card here, it has +5 Power., you can easily provide extra support if needed.
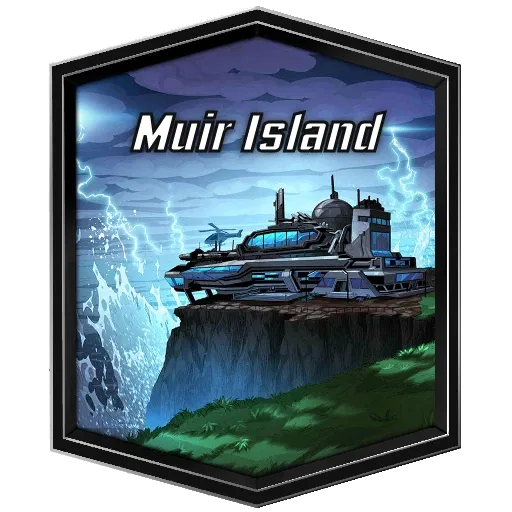 Muir IslandAfter each turn, give cards here +1 Power.
Nightcrawler NightcrawlerYou can move this once. is a 1-drop you should already be using in almost every deck, if not all. Muir Island Muir IslandAfter each turn, give cards here +1 Power. just takes him to another level, allowing you to harness its power for other locations. Iron Man Iron ManOngoing: Your total Power is doubled at this location., on the other hand, doubles all your gains, so this works like Monster Island Monster IslandAdd a 9-Power Monster here for each player. for him. At last, Shang-Chi Shang-ChiOn Reveal: Destroy all enemy cards at this location that have 9 or more Power. is more likely to score a takedown or two here since everything is so buffed up.
Bucky Barnes Bucky BarnesWhen this is destroyed, create the Winter Soldier in its place. is a great card here since he becomes a 2/6. Other than that, Murder World can help you avoid clogging up locations with low-power units like Okoye OkoyeOn Reveal: Give every card in your deck +2 Power. and Nakia NakiaOn Reveal: Give all cards in your hand +2 Power.. Wasting their power in favor of not committing a board space can save you in a battle for heavily disputed locations.
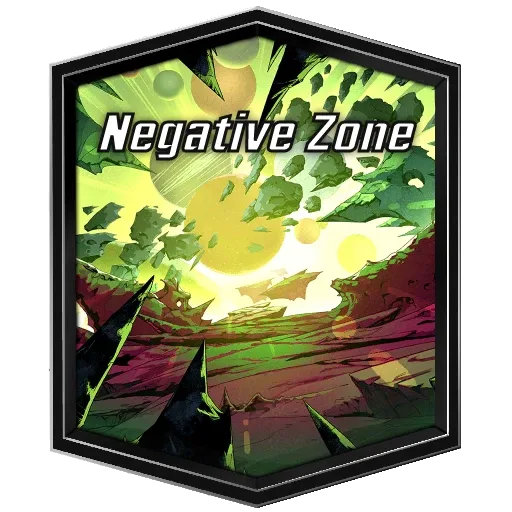 Negative ZoneCards here have -3 Power.
Klyntar KlyntarCards here have -2 Power. all over again, but middle-class units aren’t even that effective. Save only the strongest for here. Flooding is also not a great option, because even if you end up winning, you’ll have spent a lot of resources to beat a single strong unit from your opponent.
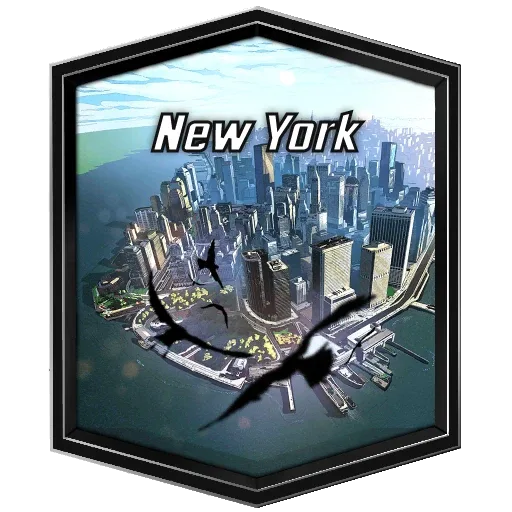 New YorkOn turn 6, you can move cards to this location.
New York New YorkOn turn 6, you can move cards to this location. changes the whole dynamic of the game, and it favors both the movement archetype and Angela 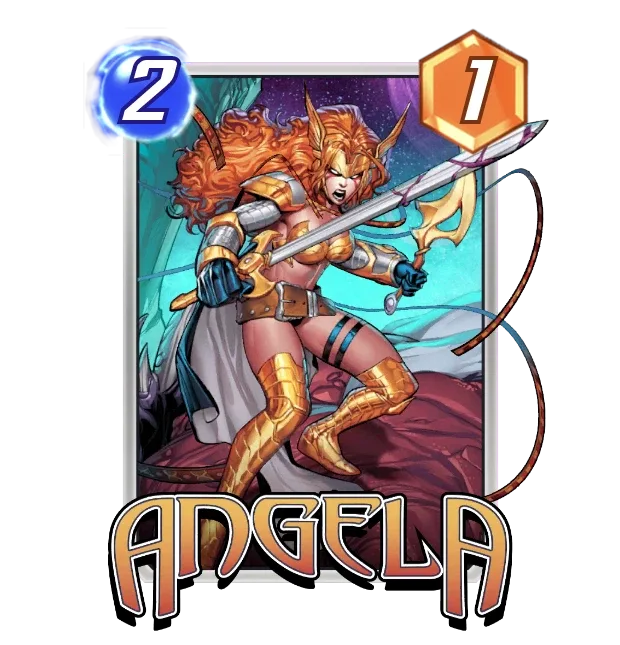 AngelaWhen you play a card here, +2 Power.. Since all can be moved there, you want to play outside for you to decide on turn 6 how much will you really commit here on the last turn. It can ease out overcommits, give free movement, and for Angela AngelaWhen you play a card here, +2 Power., you can play her + 3 cards, move them and play the other 3, for a total of a 13 power 2 cost unit, which is a huge thing.
Nova RomaDraw a card.
Nova Roma Nova RomaDraw a card. is big with Nakia NakiaOn Reveal: Give all cards in your hand +2 Power.. Since Nakia NakiaOn Reveal: Give all cards in your hand +2 Power. decks should be using a lot of small units to make use of them all later, that means you’ll also be able to transform Nova Roma Nova RomaDraw a card.’s draw in raw power in the locations.
OlympiaDraw 2 cards.
Same as Nova Roma Nova RomaDraw a card., but even more extreme. Beware that all your energy dumps, like Sentinel  SentinelOn Reveal: Add another Sentinel to your hand. and Sunspot SunspotAt the end of each turn, gain +1 Power for each unspent Energy., lose their purpose if Olympia OlympiaDraw 2 cards. is in the game. Also, if you’re playing Strong Guy Strong GuyOngoing: If your hand is empty, +6 Power., this can make you unable to activate him, so try to play around it with Blade
  BladeOn Reveal: Discard a card from your hand., if possible.
 Onslaught's CitadelOngoing effects here are doubled.
As if Iron Man Iron ManOngoing: Your total Power is doubled at this location. hadn’t already been mentioned too much here. Getting your power x4 is a nice way to make sure you win a location and any possible tiebreaker. Strong Ongoing effects in general, like Devil Dinosaur  Devil DinosaurOngoing: +2 Power for each card in your hand. and Kazar, fit here very well.
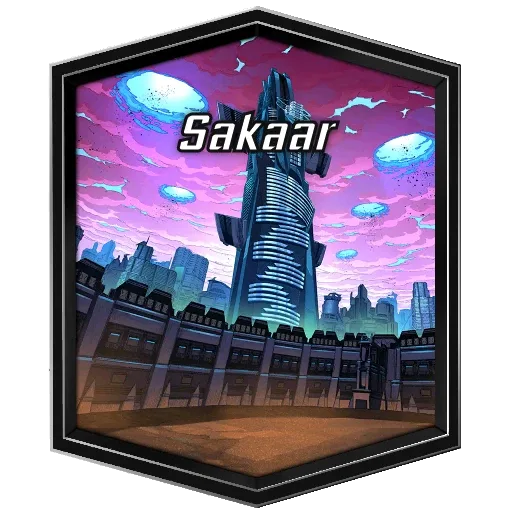 SakaarPut a card from each player's hand here.
Giving players energy will almost always benefit those heavy decks. The best in this category belongs to pool 3, but you can still find some great cards in pools 1 and 2, like Iron Man Iron ManOngoing: Your total Power is doubled at this location., Hobgoblin HobgoblinOn Reveal: Your opponent gains control of this., Leech LeechOn Reveal: Remove the abilities from all cards in your opponent's hand.}, and the The Infinaut The InfinautIf you played a card last turn, you can't play this..
Unless any decks have a specific way to deal with Sanctum Santorum, this means the game is going into tiebreaker mode. A Nightcrawler NightcrawlerYou can move this once. from both sides will still result in a tied game, so you’ll need more, like movement, Squirrel Girl  Squirrel GirlOn Reveal: Add a 1-Power Squirrel to each other location., {{White Tiger]], or discarding a Wolverine
 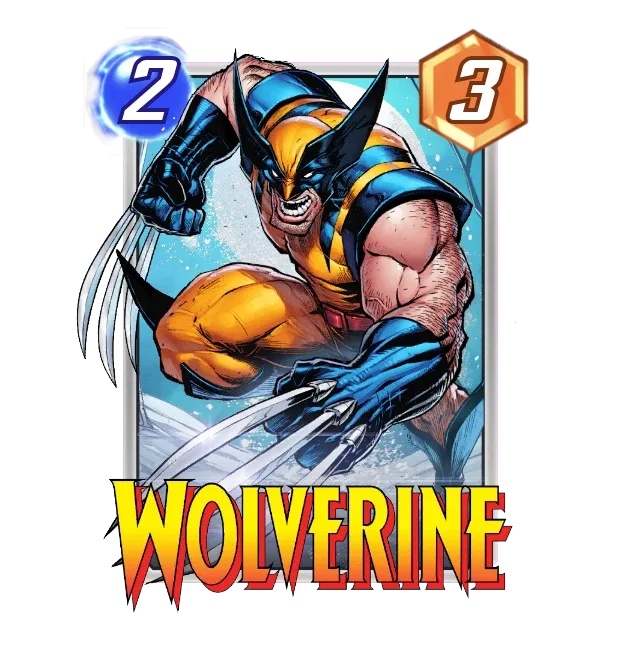 WolverineWhen this is discarded or destroyed, play it at a random location.. If you have Quake QuakeOn Reveal: If this is at the middle location, swap the positions of each location. from pool 3, she’s great, as you can take advantage of Sanctum Santorum by switching it for a location you already have units on.
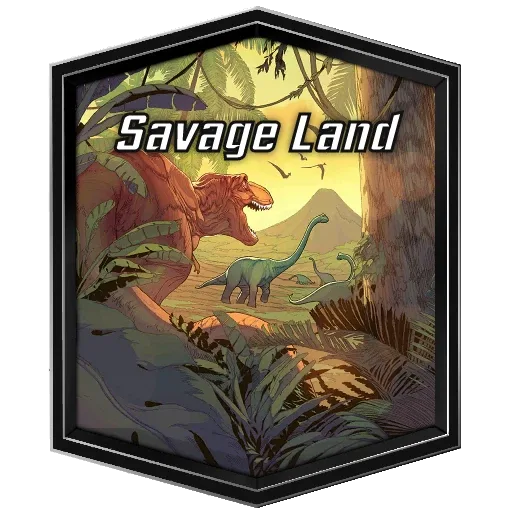 Savage LandAdd two Raptors on each side of this location.
There are 2 cards that make the best usage of Savage Land Savage LandAdd two Raptors on each side of this location.: Kazar and Carnage CarnageOn Reveal: Destroy your other cards here. +2 Power for each destroyed.. 2 slots are too tight location to fight for, so Carnage CarnageOn Reveal: Destroy your other cards here. +2 Power for each destroyed. will open that up while generating 4 more power for you. Kazar, on the other hand, buffs the raptors and puts you ahead in a small location, which can be just enough to secure the win.
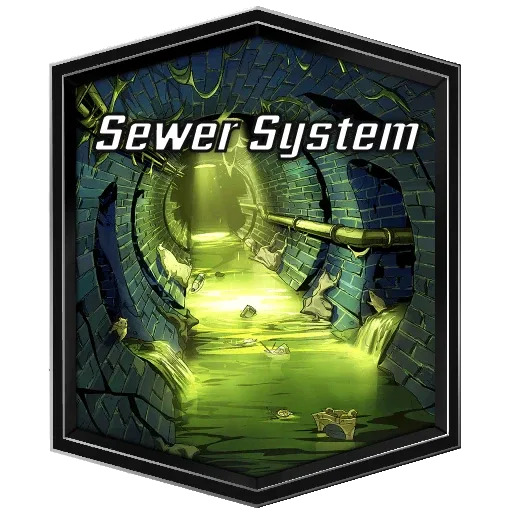 Sewer SystemCards here have -1 Power.
The small version of Klyntar KlyntarCards here have -2 Power.. Flooding Sewer System Sewer SystemCards here have -1 Power. will cost you 4 points total, which is a small cost in the end if you can secure the location. Therefore, while strong units will still be more advantageous, the margin is much smaller.
 ShadowlandAdd a Ninja to each side with -2 Power.
Takes up a slot while taking out power. All the sacrifice effects shine here, so Carnage CarnageOn Reveal: Destroy your other cards here. +2 Power for each destroyed. and Deathlok  DeathlokOn Reveal: Destroy your other cards at this location. from pool 1. Hobgoblin HobgoblinOn Reveal: Your opponent gains control of this. can lock your opponent with much negative power, so he can do the work here. Just remember that you’ll also be giving a lot of power for their sacrifice should they have it.
 Sinister LondonWhen you play a card here, add a copy to another location.
Sinister London Sinister LondonWhen you play a card here, add a copy to another location. is an extremely strong location. You can double up to 4 of your strongest cards, provided that none add extra units to their location. Making Iron Man Iron ManOngoing: Your total Power is doubled at this location. secure 2 locations is one of the best uses of Sinister London Sinister LondonWhen you play a card here, add a copy to another location., as well as using Carnage CarnageOn Reveal: Destroy your other cards here. +2 Power for each destroyed. to clean up after a first flood, allowing for double usage of the location. A fast use + Scarlet Witch Scarlet WitchOn Reveal: Replace this location with a random new one. to deny your opponent as many Sinister London Sinister LondonWhen you play a card here, add a copy to another location. slots of his as possible.
 SokoviaDiscard a card from each player's hand.
Denying cards in hand for small unit decks can be huge, since not only a card is being taken away, but also there are a few strong, key cards that the deck relies on. Heavy cost decks, on the other hand, can do very well with few cards, so high costed units, and energy dumps, like Sunspot SunspotAt the end of each turn, gain +1 Power for each unspent Energy. and Sentinel SentinelOn Reveal: Add another Sentinel to your hand., shine here.
 Stark TowerAt the end of turn 5, give all cards here +2 Power.
Who would’ve imagined that Iron Man Iron ManOngoing: Your total Power is doubled at this location. is one of the best units in Stark Tower Stark TowerAt the end of turn 5, give all cards here +2 Power.? Me, because I can’t have enough of talking about good things from this card! He doubles the power you gain, so that’s huge. Also, Nightcrawler NightcrawlerYou can move this once. can help you transfer Stark Tower Stark TowerAt the end of turn 5, give all cards here +2 Power. ability to other locations if needed.
 Starlight CitadelAfter turn 4, swap the position of each location.
Read Mirror Dimension Mirror DimensionAt the end of turn 3, transform into one of the other locations..
 Strange AcademyAt the end of turn 5, move all cards here to other random locations.
This could be a great ally from the movement deck if it wasn’t for the fact that it’s hard to actually have your units land here after moving. All you commit here will be randomly distributed, so you’d rather avoid than play into Strange Academy Strange AcademyAt the end of turn 5, move all cards here to other random locations., unless you want to bypass play restrictions, like Sanctum Santorum and Death's Domain  Death's DomainWhen you play a card here, destroy it.. This sort of functions like Miniaturized Lab Miniaturized LabOn turns 3, 4, and 5, no cards can be added here. as well because you have to dispute it only at turn 6.
 SubterraneaShuffle 5 rocks into each deck.
Benefits more energy dumps and high-cost decks, you know the drill. America Chavez America ChavezYou always draw this card on turn 6, and not before., much like in Lechuguilla LechuguillaWhen you play a card here, shuffle 3 rocks into your deck., can help you here.
 The Big House4, 5, and 6-Cost cards can't be played here.
To fight for The Big House The Big House4, 5, and 6-Cost cards can't be played here., you’ll need strong low-cost units. That includes Angela AngelaWhen you play a card here, +2 Power., Strong Guy Strong GuyOngoing: If your hand is empty, +6 Power., and The Collector The CollectorWhen a card enters your hand from anywhere (except your deck), +2 Power.. Carnage CarnageOn Reveal: Destroy your other cards here. +2 Power for each destroyed. + Nova  NovaWhen this is destroyed, give your cards +2 Power. + Bucky Barnes Bucky BarnesWhen this is destroyed, create the Winter Soldier in its place. is also an option if you want, but that’s probably not good enough after the recent patch.
 The HubAdd a random card to each player's hand.
The Hub The HubAdd a random card to each player's hand. can really mess up a Strong Guy Strong GuyOngoing: If your hand is empty, +6 Power. deck if you don’t draw Blade BladeOn Reveal: Discard a card from your hand., since it’s likely that you won’t want or be able to play the card you’re given. Other than that, there’s not much to be said.
 The Ice BoxGive a card in each player’s hand +1 Cost.
If I’m not mistaken, much like Iceman  IcemanOn Reveal: Give a random card in your opponent's hand +1 Cost. (maximum 6), The Ice Box The Ice BoxGive a card in each player’s hand +1 Cost. can’t hit 6 cost cards. Hitting a 5-cost card is back-breaking though since decks using 5 costers many times want to curve out 5, then a 6, and this just wrecks one of their turns. 1 cost is easy to handle unless it’s hitting a curve card, like Bishop
  BishopWhen you play a card, this gains +1 Power., Nakia NakiaOn Reveal: Give all cards in your hand +2 Power., or a combo piece, like Lady Sif
  Lady SifOn Reveal: Discard the highest-cost card from your hand..
 Space ThroneOnly one card can be here for each player.
Save your strongest card for this location, and you can even put in a Nightcrawler NightcrawlerYou can move this once. just to prevent random adding effects from locking here before you commit. You’re aiming for 10+ power with the likes of America Chavez America ChavezYou always draw this card on turn 6, and not before., Namor NamorOngoing: +5 Power if this is your only card here., Jessica Jones  Jessica JonesOn Reveal: If you don't play a card here next turn, +2 Power., and many of the pool 3 finishers (Magneto
  MagnetoOn Reveal: Move all opposing 3 and 4-Cost cards to this location., Red Skull
  Red SkullOngoing: Enemy cards at this location have +2 Power., Giganto
  GigantoYou can only play this at the left location., Dracula
  DraculaAfter the final turn, discard a card from your hand. This has its Power., Death
  DeathCosts 1 less for each card destroyed this game., etc.)
Now it’s time for me to praise another 5 cost unit. Professor X Professor XOngoing: Lock down this location. (Cards can't be added, removed, or destroyed.) is the deal here. No one wants to play into The Superflow 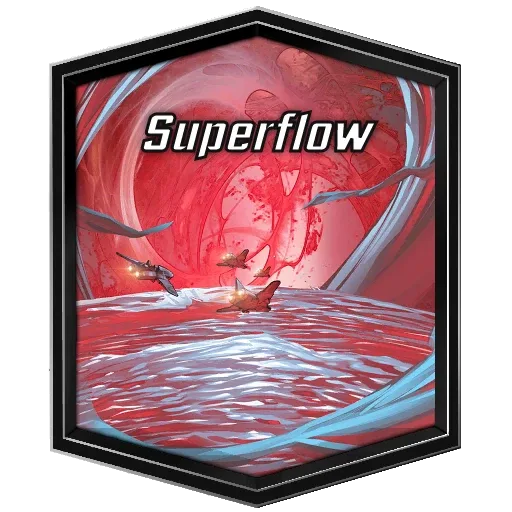 The SuperflowIf you have no cards here, +1 energy each turn. and take out their own energy supply, and The Superflow The SuperflowIf you have no cards here, +1 energy each turn. ramps you, so the chances are you can play Professor X Professor XOngoing: Lock down this location. (Cards can't be added, removed, or destroyed.) on turn 4 to lockdown and win this location.
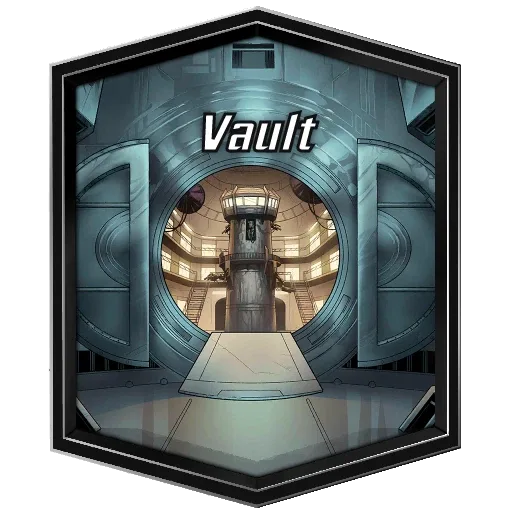 The VaultOn turn 6, cards can’t be played here.
With this in the game, you can know what you aim for in turn 6, because one of the locations is already concluded. If you won The Vault The VaultOn turn 6, cards can’t be played here., you can go all-in into another location. If you lost The Vault The VaultOn turn 6, cards can’t be played here., you know your opponent will be going all-in into one of the locations, so your best bet is probably to go all-in where he has the biggest advantage while getting the remaining points in the third location. If you think that’s good enough to get both, stay in the game. Otherwise, just retreat.
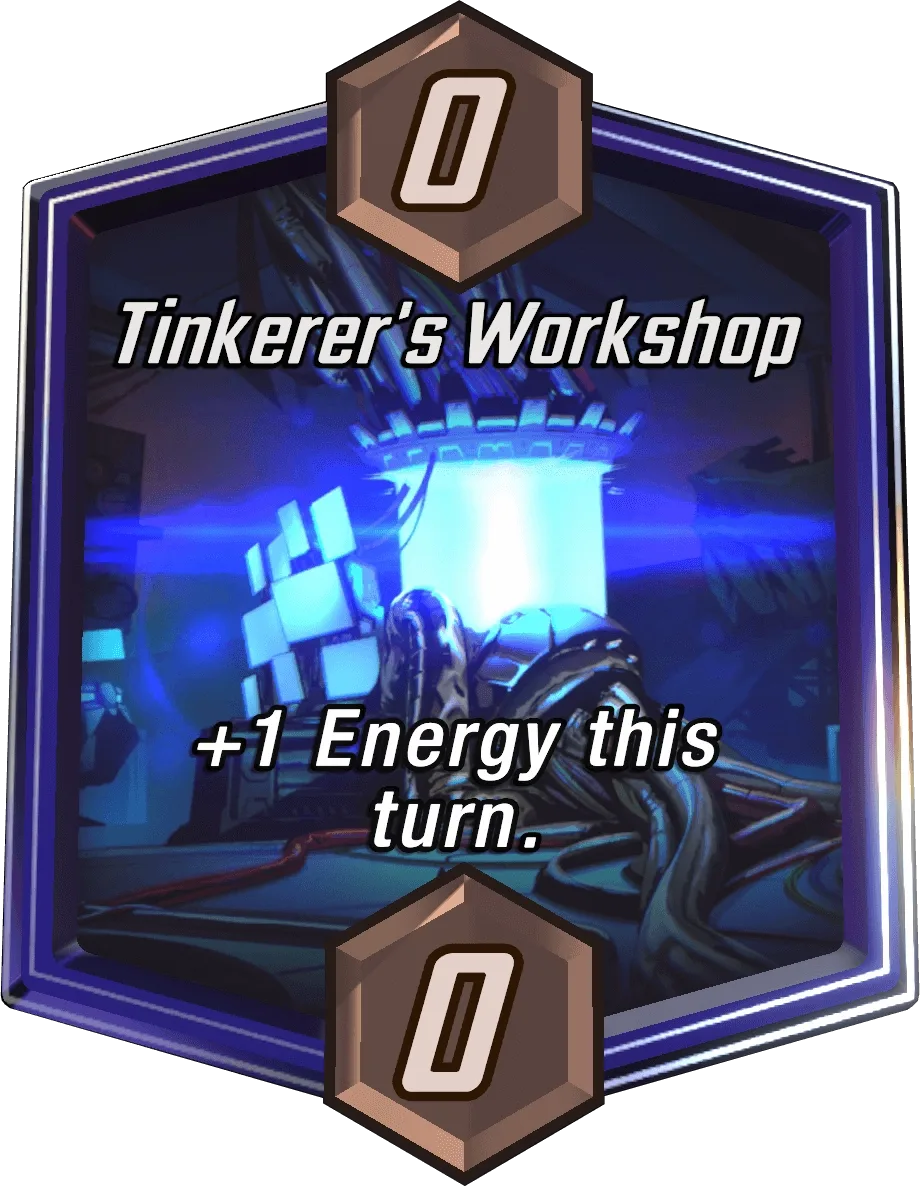 Tinkerer's Workshop+1 Energy this turn.
Depending on the turn this was revealed, it can help you ramp an interesting card, like Mister Negative 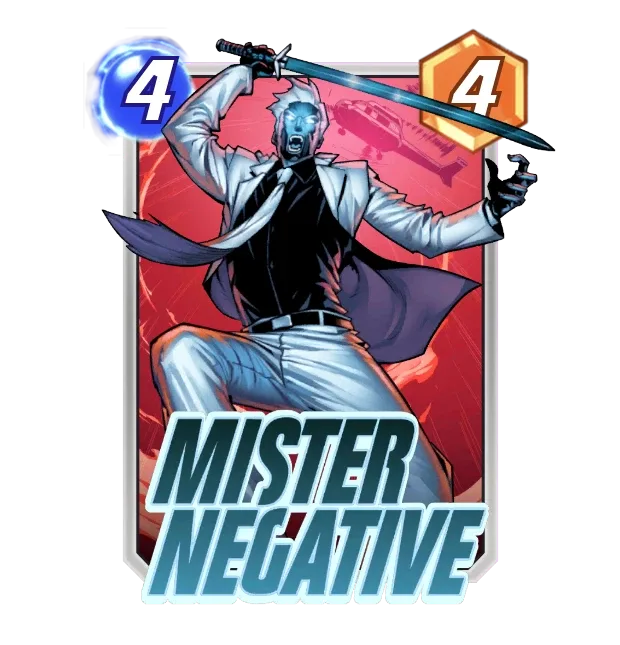 Mister NegativeOn Reveal: Swap the Power and Cost of all cards in your deck. or Bishop BishopWhen you play a card, this gains +1 Power.. But since you can’t even predict which turn this will happen, it’s hard to tune your deck for it. In general, it will be like The Ice Box The Ice BoxGive a card in each player’s hand +1 Cost., with a very small relevance in the game.
 Titan6-Cost cards cost 1 less.
If you have multiple 6-cost cards, Titan Titan6-Cost cards cost 1 less. can be huge, since you can play 2 of them through the game (3 if you have Electro  ElectroOn Reveal: +1 Max Energy. Ongoing: You can only play 1 card a turn.). Other than that, being able to play a 6 cost and a 1 cost together has the only advantage of enabling you to play a 6 cost without completely tapping out everywhere else.
 TVAAfter turn 4, end the game.
TVA TVAAfter turn 4, end the game. is the Scarlet Witch Scarlet WitchOn Reveal: Replace this location with a random new one. magnet. There’s no reason to retreat before 4 as well, since TVA TVAAfter turn 4, end the game. won’t change the turn where the cubes double, unlike Limbo LimboThere is a turn 7 this game.. Playing for tempo is risky, since you become vulnerable to a location disruption from your enemy, so the best choice here is to play the location disruption yourself without much foretelling. After all, if you skip turns 1, 2, and 3 to play scarlet on 4, they are aware you plan on disrupting TVA TVAAfter turn 4, end the game..
 WakandaCards here can't be destroyed.
Destroying is not a core part of this game, so many times Wakanda WakandaCards here can't be destroyed. ends up being irrelevant. If you happen to have Destroyer DestroyerOn Reveal: Destroy your other cards., Wakanda WakandaCards here can't be destroyed. is a great second location to fight for, since all your units there will survive. Other than that, it protects 1 cost units from Killmonger  KillmongerOn Reveal: Destroy ALL 1-Cost cards. and 9+ power units from Shang-Chi Shang-ChiOn Reveal: Destroy all enemy cards at this location that have 9 or more Power..
 Wakandan EmbassyGive +2 Power to cards in players' hands.
A free Nakia NakiaOn Reveal: Give all cards in your hand +2 Power. for Nakia NakiaOn Reveal: Give all cards in your hand +2 Power. decks is all that those decks could ever have dreamed of. Playing out a turn 6 composed of 4 1-drops with +4 power is huge to swing any locations needed. Other cards that get a big advantage from this are Mister Sinister  Mister SinisterOn Reveal: Add a Sinister Clone to this location with the same Power., Iron Man Iron ManOngoing: Your total Power is doubled at this location., and Brood
  BroodOn Reveal: Add 2 Broodlings to this location with the same Power..
 Washington D.C.Cards here with no abilities have +3 Power.
The no-ability cards in this game are very weak, so the ones that can use Washington D.C. Washington D.C.Cards here with no abilities have +3 Power. without giving up power are the ones that add other cards since most of the created cards have no abilities. Winter Soldier  Winter SoldierIt's time for me to face the past. from Bucky Barnes Bucky BarnesWhen this is destroyed, create the Winter Soldier in its place., Squirrel from Squirrel Girl Squirrel GirlOn Reveal: Add a 1-Power Squirrel to each other location., Tiger Spirit from White Tiger White TigerOn Reveal: Add a 7-Power Tiger to another location., and Sinister Clone from Mister Sinister Mister SinisterOn Reveal: Add a Sinister Clone to this location with the same Power. all have no abilities.
 WeirdworldBoth players draw from their opponent's decks.
If you’re playing a combo deck and you have one of the combo pieces, you should think about which part is the best as a stand-alone - the one you have or the one they can draw. Combo decks, though, are better in Weirdworld WeirdworldBoth players draw from their opponent's decks., since being better here is being worse, as you’re not the one drawing from it. The only card that stands out is America Chavez America ChavezYou always draw this card on turn 6, and not before.. She completely skips Weirdworld WeirdworldBoth players draw from their opponent's decks. restrictions, your opponent never draws her (he draws a normal card from your deck) and you still draw her on 6.
 WestviewTurns into a new location on turn 4.
Read Mirror Dimension Mirror DimensionAt the end of turn 3, transform into one of the other locations..
 WorldshipDestroy the other locations.
In Worldship WorldshipDestroy the other locations., it’s important to notice that 8 slots have been destroyed, so only 4 of your strongest cards can be played. Iron Man Iron ManOngoing: Your total Power is doubled at this location. shines the brightest here, as you can play into only 1 location, but Sunspot SunspotAt the end of each turn, gain +1 Power for each unspent Energy. also works wonders, as well as The Infinaut The InfinautIf you played a card last turn, you can't play this. and Devil Dinosaur Devil DinosaurOngoing: +2 Power for each card in your hand..
 X-MansionAt the end of turn 3, add a random card here for each player.
You lose a slot in spite of a random card. Once I had this add me a Nightcrawler NightcrawlerYou can move this once. and add an The Infinaut The InfinautIf you played a card last turn, you can't play this. for my opponent. I advise you to wait until you see the cards coming to snap or commit here.
 XandarCards here have +1 Power.
This is more relevant than Sewer System Sewer SystemCards here have -1 Power., despite looking very much alike. The reason is that more cards are more likely to be giving out more points, and Xandar XandarCards here have +1 Power. pushes that a bit further. It’s very hard to win here with a single strong card, so prefer flooding over loner cards, like Namor NamorOngoing: +5 Power if this is your only card here..


