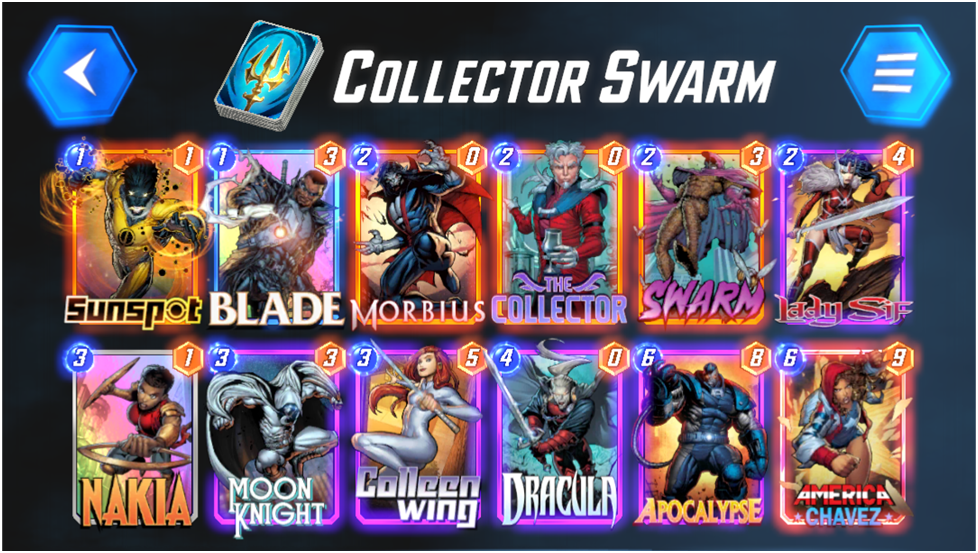
The July 19 patch has upended the Marvel Snap metagame. Many of the most potent archetypes are significantly weaker, or in some cases no longer functional. Others are dependent on a large number of Pool 3 components which limits their accessibility. Collector Swarm is a fun, skill-testing deck with an impressive power level that remains easy to build, easy to tweak, and highly competitive in the post-patch world.
What is Collector Swarm?
Collector Swarm is a highly synergistic combo deck that leverages the power of discard effects in a way that allows it to assemble both tall and wide boards. It is a versatile archetype with a number of different build options, including little reliance on any specific Pool 3 cards. The deck can focus on its primary plan, tweaking it along the axis of explosiveness versus consistency, but it can also run some potent disruptive tools without significantly compromising its power.
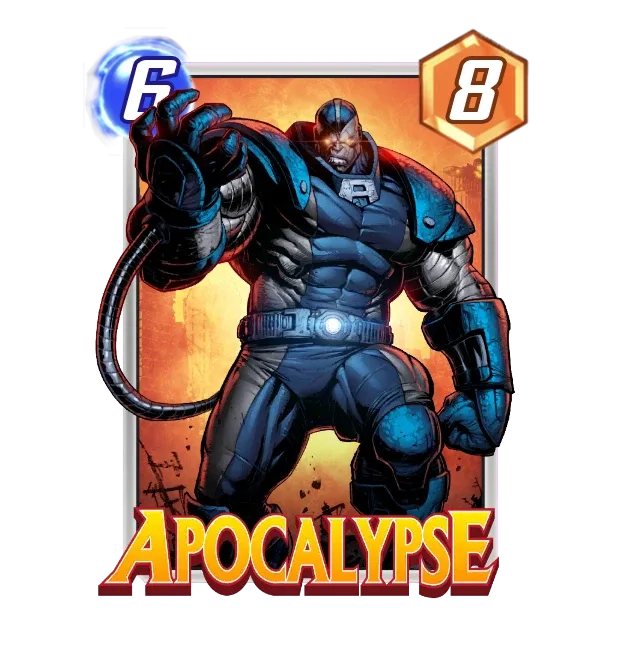
The game plan with Collector Swarm is to deploy multiple cards that discard cards from your hand on reveal, enjoying the fact that these cards are above-rate on power level while also turning their drawback into an upside. The deck does this through cards like Swarm and Apocalypse that actively want to be discarded, as well as through cards like Morbius and The Collector which scale from these effects. It closes out games with a combination of multiplied Swarms and large bodies, producing very high amounts of total power without fully committing to lanes too early in the game.
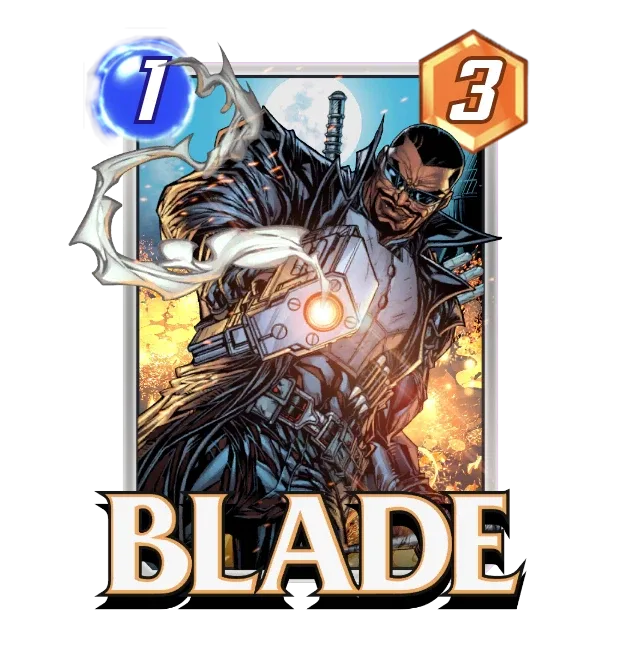
This list includes four discard outlets: Blade Blade On Reveal: Discard a card from your hand. , Lady Sif Lady Sif On Reveal: Discard the highest-cost card from your hand. , Moon Knight Moon Knight On Reveal: Discard a card from each player's hand. , and Colleen Wing Colleen Wing On Reveal: Discard the lowest-cost card from your hand. . Because Lady Sif Lady Sif On Reveal: Discard the highest-cost card from your hand. and Colleen Wing Colleen Wing On Reveal: Discard the lowest-cost card from your hand. both allow it to target its discards, it can often guarantee multiple discards of Swarm Swarm When this is discarded from your hand, add two 0-Cost copies to your hand. and/or Apocalypse Apocalypse When you discard this from your hand, put it back with +4 Power. . This, combined with the potential inclusion of Moon Girl Moon Girl On Reveal: Duplicate your hand. , makes this list particularly centered around The Collector The Collector When a card enters your hand from anywhere (except your deck), +2 Power. , very easily scaling him into the double digits. Dracula Dracula After the final turn, discard a card from your hand. This has its Power. fits well with this package, freeing up mana on turn 6 to empty the hand after a Moon Girl Moon Girl On Reveal: Duplicate your hand. and also granting The Collector The Collector When a card enters your hand from anywhere (except your deck), +2 Power. an extra buff when he hits Apocalypse Apocalypse When you discard this from your hand, put it back with +4 Power. .
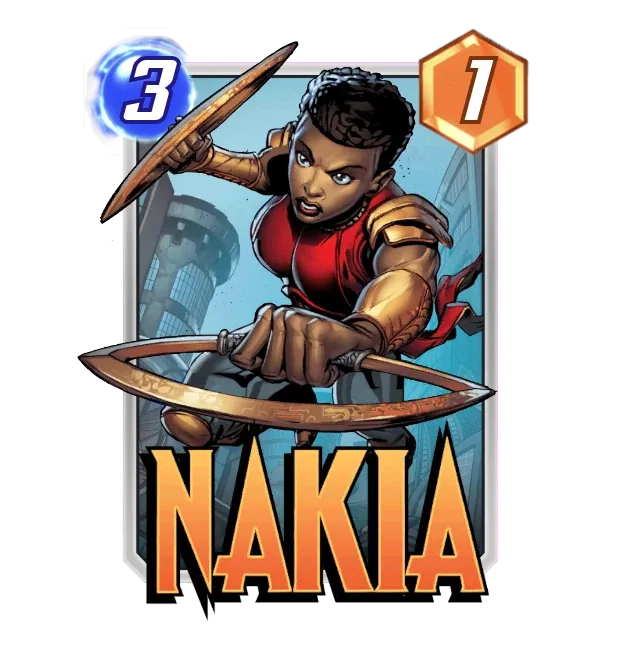
The deck will often park some combination of Sunspot Sunspot At the end of each turn, gain +1 Power for each unspent Energy. , Morbius Morbius Ongoing: +2 Power for each card you discarded from your hand this game. , and The Collector The Collector When a card enters your hand from anywhere (except your deck), +2 Power. in order to stake an early claim to a lane. The large bodies of the discard outlets can place pressure on other lanes and make it difficult for the opponent to decide where to contest. Nakia Nakia On Reveal: Give all cards in your hand +2 Power. can exacerbate this, or in the best case, she can buff Swarm Swarm When this is discarded from your hand, add two 0-Cost copies to your hand. so that the discard outlets can multiply her bonus repeatedly. On turns 5 and 6, some combination of Moon Girl Moon Girl On Reveal: Duplicate your hand. , Dracula Dracula After the final turn, discard a card from your hand. This has its Power. , Apocalypse Apocalypse When you discard this from your hand, put it back with +4 Power. , and multiple Swarm Swarm When this is discarded from your hand, add two 0-Cost copies to your hand. s will usually allow the deck to deploy a large amount of power. In some games, it is possible to add 40 or more power to the board on turn 6.
Build Options
The above list contains three cards from Pool 3. This may seem intimidating, but in fact, none of them are mandatory inclusions. Collector Swarm is a deck that is very friendly to improvisation around available cards.
Discard Outlets
As with most any deck that includes discarding synergies, Blade Blade On Reveal: Discard a card from your hand. and Lady Sif Lady Sif On Reveal: Discard the highest-cost card from your hand. are easy inclusions. They are cheap, have good energy-to-power ratios, and play an important role in sculpting hands. Lady Sif Lady Sif On Reveal: Discard the highest-cost card from your hand. ’s ability to control the target of the discard is also essential for setting up the late game. Unlike with some Swarm Zoo or Ghost Rider decks however, the large number of synergies in Collector Swarm demand some additional discard outlets.
Colleen Wing On Reveal: Discard the lowest-cost card from your hand.
Colleen Wing Colleen Wing On Reveal: Discard the lowest-cost card from your hand. is one strong option. Like Lady Sif Lady Sif On Reveal: Discard the highest-cost card from your hand. , she can target specific cards, often delivering the initial discard of Swarm Swarm When this is discarded from your hand, add two 0-Cost copies to your hand. . She can also help to clear the hand for Apocalypse in order to set up Dracula Dracula After the final turn, discard a card from your hand. This has its Power. since she will never hit Apocalypse Apocalypse When you discard this from your hand, put it back with +4 Power. unless he is the only remaining card. Her 3|5 body is also a good rate, allowing the deck to threaten the lane where it deploys her.
Moon Knight On Reveal: Discard a card from each player's hand.
Moon Knight Moon Knight On Reveal: Discard a card from each player's hand. offers disruption in exchange for a smaller body. The impact of this disruption will vary, but in some cases, it can be back-breaking. Some decks rely heavily on specific components, and Moon Knight Moon Knight On Reveal: Discard a card from each player's hand. will occasionally trigger instant retreats. As a discard outlet, however, his single random discard is the worst effect available, the same as Blade Blade On Reveal: Discard a card from your hand. . Combined with his weak body and the inconsistency of his disruption, he will sometimes feel awkward. He is also weak in the mirror since he can sometimes help your opponent, so he will become less attractive if Collector Swarm becomes more popular.
Gambit On Reveal: Discard a card from your hand. Destroy a random enemy card.
Gambit Gambit On Reveal: Discard a card from your hand. Destroy a random enemy card. is an even more extreme version of Moon Knight Moon Knight On Reveal: Discard a card from each player's hand. . Like Moon Knight Moon Knight On Reveal: Discard a card from each player's hand. , he has a single random discard and can sometimes have a very little disruptive impact. His body is even worse than Moon Knight Moon Knight On Reveal: Discard a card from each player's hand. ’s, an abysmal 3|1. His ability to disrupt the opponent’s board and erase energy that they have already committed has extreme high roll potential. Gambit Gambit On Reveal: Discard a card from your hand. Destroy a random enemy card. is the discard option furthest away from facilitating a consistent combo strategy and toward disruption and unpredictability.
Hellcow On Reveal: Discard 2 cards from your hand.
Hellcow Hellcow On Reveal: Discard 2 cards from your hand. is the opposite of Gambit Gambit On Reveal: Discard a card from your hand. Destroy a random enemy card. . It is the most explosive, as the only card that discards two cards at once. It also has an enormous 2|6 body which will even match Morbius Morbius Ongoing: +2 Power for each card you discarded from your hand this game. on the rate in some games. It is very good at clearing the hand for Dracula Dracula After the final turn, discard a card from your hand. This has its Power. , can trigger Swarm Swarm When this is discarded from your hand, add two 0-Cost copies to your hand. and Apocalypse Apocalypse When you discard this from your hand, put it back with +4 Power. multiple times, and is so cheap that it presents no challenge to play two copies after Moon Girl Moon Girl On Reveal: Duplicate your hand. . There will sometimes be situations in which the two discards make it awkward or risky to deploy, but it tends to make up for this with its power. Hellcow Hellcow On Reveal: Discard 2 cards from your hand. is especially attractive in builds that want to run only three discard outlets.
Sword Master On Reveal: Discard a card from your hand.
Sword Master Sword Master On Reveal: Discard a card from your hand. is also a card that merits a mention. Compared to the Pool 3 options, 4 mana is too expensive for a single random discard with no additional upside. The rate of 4|7 is good, but this does not make up for the high cost. The one place where Sword Master Sword Master On Reveal: Discard a card from your hand. is worth considering is in a “budget” version of the deck for players who have not pulled any of the Pool 3 discard outlets. A build running only Blade Blade On Reveal: Discard a card from your hand. , Lady Sif Lady Sif On Reveal: Discard the highest-cost card from your hand. , and Sword Master Sword Master On Reveal: Discard a card from your hand. will be functional, albeit noticeably worse.
Dracula After the final turn, discard a card from your hand. This has its Power.
Dracula Dracula After the final turn, discard a card from your hand. This has its Power. is a potent option in Collector Swarm. The deck wants to deploy Apocalypse Apocalypse When you discard this from your hand, put it back with +4 Power. in almost every game where it draws him, but this ties up turn 6 entirely and is extremely predictable. Dracula Dracula After the final turn, discard a card from your hand. This has its Power. allows an earlier play which will free up turn 6 and allow you to conceal more information. It is also more powerful than playing Apocalypse Apocalypse When you discard this from your hand, put it back with +4 Power. on his own, both because it discounts him by 2 mana and because Dracula Dracula After the final turn, discard a card from your hand. This has its Power. himself is a discard outlet. Discarding Apocalypse Apocalypse When you discard this from your hand, put it back with +4 Power. at the end of the game will give Morbius Morbius Ongoing: +2 Power for each card you discarded from your hand this game. and The Collector The Collector When a card enters your hand from anywhere (except your deck), +2 Power. an additional +2 power while also giving Apocalypse Apocalypse When you discard this from your hand, put it back with +4 Power. himself an additional +4, which is added to the power Dracula Dracula After the final turn, discard a card from your hand. This has its Power. gains. The primary drawback of Dracula Dracula After the final turn, discard a card from your hand. This has its Power. is that he costs 4 mana and does not contribute to the game plan during the game itself, which can feel clunky. He also relies on Apocalypse Apocalypse When you discard this from your hand, put it back with +4 Power. for his maximum power, although it is sometimes acceptable for him to discard something smaller. Note that opponents will often play around Dracula Dracula After the final turn, discard a card from your hand. This has its Power. as if he has 20 power, so he can be used to claim a lane and even to bluff.
Wong Ongoing: Your On Reveal abilities at this location happen twice.
Wong Wong Ongoing: Your On Reveal abilities at this location happen twice. is often seen as an alternative to Dracula Dracula After the final turn, discard a card from your hand. This has its Power. . This is primarily because, like Dracula Dracula After the final turn, discard a card from your hand. This has its Power. , he costs 4 mana and does very little on his own. The deck cannot really accommodate two such cards. Wong Wong Ongoing: Your On Reveal abilities at this location happen twice. allows some incredibly explosive plays by doubling discard triggers as well as effects like Gambit Gambit On Reveal: Discard a card from your hand. Destroy a random enemy card. and Moon Knight Moon Knight On Reveal: Discard a card from each player's hand. . Running Wong Wong Ongoing: Your On Reveal abilities at this location happen twice. also indirectly makes Morbius Morbius Ongoing: +2 Power for each card you discarded from your hand this game. much more powerful, which can punish opponents who disrespected his lane earlier in the game. The above list comes from @Gjallarnorn on Twitter, who has maintained above a 60% winrate in Infinite with the deck since the July 19 patch.
America Chavez You always draw this card on turn 6, and not before.
America Chavez America Chavez You always draw this card on turn 6, and not before. gives the deck a consistent turn 6 play after emptying the hand, which can be very attractive when the deck does not draw Apocalypse Apocalypse When you discard this from your hand, put it back with +4 Power. . In builds with Dracula Dracula After the final turn, discard a card from your hand. This has its Power. , it is possible to play both by emptying the hand down to Apocalypse Apocalypse When you discard this from your hand, put it back with +4 Power. on turn 5 in order to play America Chavez America Chavez You always draw this card on turn 6, and not before. on turn 6 and then discard Apocalypse Apocalypse When you discard this from your hand, put it back with +4 Power. to Dracula Dracula After the final turn, discard a card from your hand. This has its Power. . America Chavez America Chavez You always draw this card on turn 6, and not before. can also be a backup Dracula Dracula After the final turn, discard a card from your hand. This has its Power. payload, making him safe to deploy even before drawing Apocalypse Apocalypse When you discard this from your hand, put it back with +4 Power. . In Wong Wong Ongoing: Your On Reveal abilities at this location happen twice. builds, she provides a consistent turn 6 play to close out the game, which can be important to complement the Swarm Swarm When this is discarded from your hand, add two 0-Cost copies to your hand. s that Wong Wong Ongoing: Your On Reveal abilities at this location happen twice. will often generate. Perhaps most importantly, she adds to the deck’s overall consistency by allowing it to draw from an 11-card pool for the first 5 turns and by making the final draw predictable. Due to the nuances of managing board slots and cards in hand, this deck benefits particularly strongly from this effect. Chavez’s nerf to 9 power in the July 19 patch does not significantly impact her role in Collector Swarm.
Moon Girl On Reveal: Duplicate your hand.
Moon Girl Moon Girl On Reveal: Duplicate your hand. is an obvious consideration in any deck running The Collector The Collector When a card enters your hand from anywhere (except your deck), +2 Power. . Her ability to add 10 power to the board for 4 mana can be very potent. Because Collector Swarm does not always include her, she can be more surprising than she would be in a more traditional Collector deck with cards like Devil Dinosaur Devil Dinosaur Ongoing: +2 Power for each card in your hand. . There will be games where she makes it difficult for the deck to empty its hand for Dracula Dracula After the final turn, discard a card from your hand. This has its Power. , but multiplying discard outlets will often mitigate that. Moon Girl Moon Girl On Reveal: Duplicate your hand. is, as always, a card with a high skill ceiling. Her high cost and tendency to sometimes clog the hand make her a less consistent but more explosive option.
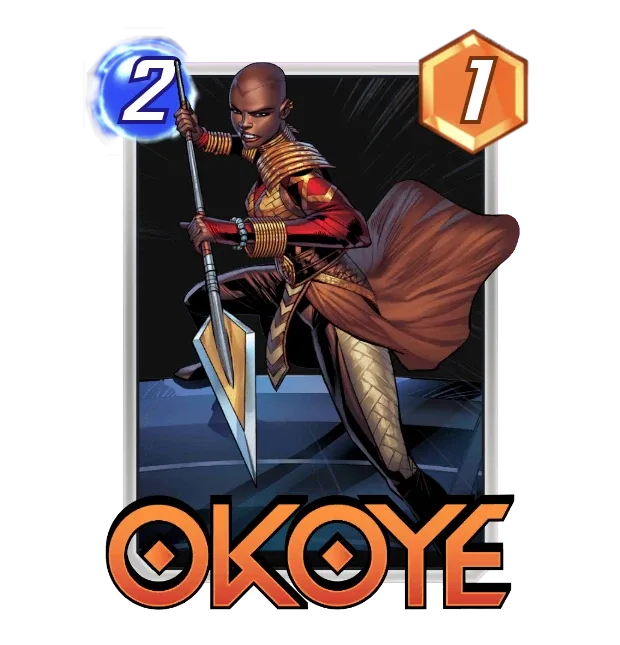
Okoye On Reveal: Give every card in your deck +2 Power.
Okoye Okoye On Reveal: Give every card in your deck +2 Power. was a staple in Collector Swarm before her nerf in the July 19 patch. Costing 2 mana makes her much more difficult to throw away later in the game or sneak into the mana curve earlier. As such, most lists have cut her. However, Swarm Swarm When this is discarded from your hand, add two 0-Cost copies to your hand. multiplies buffs, and Okoye Okoye On Reveal: Give every card in your deck +2 Power. is the main card besides Nakia Nakia On Reveal: Give all cards in your hand +2 Power. that can reasonably seed a buff onto it. It would not be outrageous to include Okoye Okoye On Reveal: Give every card in your deck +2 Power. , particularly for players who lack Pool 3 cards they might otherwise run. It is worth noting that the 2-slot on the deck is already fairly crowded, so Okoye Okoye On Reveal: Give every card in your deck +2 Power. will compete with other cards on the curve.
Tech Cards
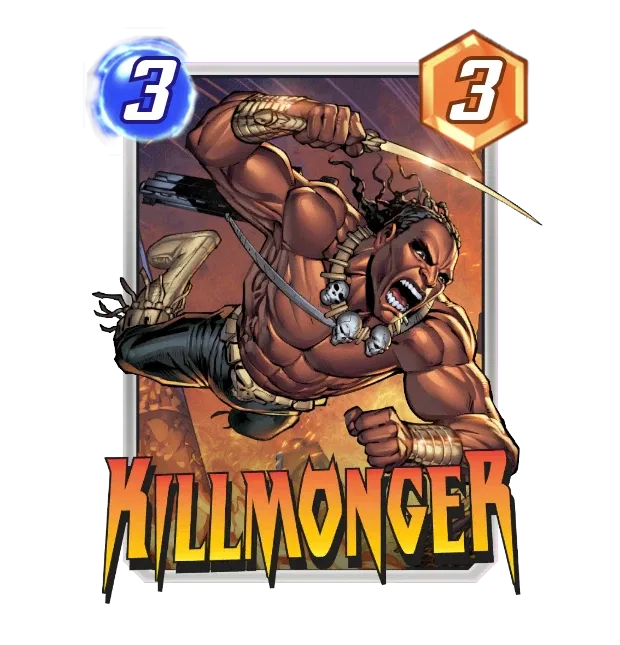
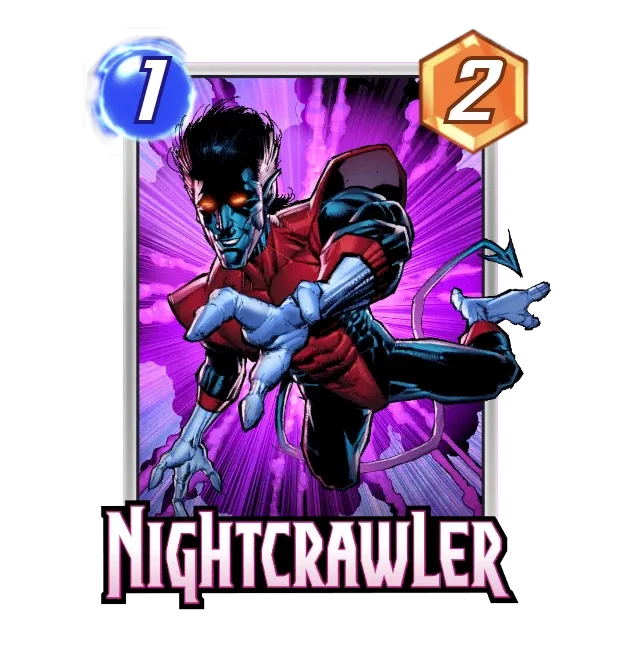
It is possible to make room in the deck for a tech slot. The best option is probably Killmonger Killmonger On Reveal: Destroy ALL 1-Cost cards. since Collector Swarm does not rely significantly on 1-drops. Losing a Blade Blade On Reveal: Discard a card from your hand. is generally acceptable, and sometimes it will be possible to play Blade Blade On Reveal: Discard a card from your hand. after Killmonger Killmonger On Reveal: Destroy ALL 1-Cost cards. . Builds with Killmonger Killmonger On Reveal: Destroy ALL 1-Cost cards. would want to consider cutting some other 1-drops such as Sunspot Sunspot At the end of each turn, gain +1 Power for each unspent Energy. or Nightcrawler Nightcrawler You can move this once. . Another tech option would be Armor Armor Ongoing: Cards at this location can't be destroyed. , since decks with destroy synergies did fairly well in the July 19 patch. Shang-Chi Shang-Chi On Reveal: Destroy all enemy cards at this location that have 9 or more Power. would also be worth considering, depending on how the meta shakes out. When in doubt, it is generally better to stick to a more proactive build.
Conclusion
Collector Swarm was a powerful option before the July 19 patch. As one of the top archetypes least affected by the nerfs, it is very well situated in the current meta. It is a somewhat complicated deck with a bit of a learning curve, but it is rewarding and fun to play. If you are looking to make a ladder push in the brave new world without Jubilee Jubilee On Reveal: Play the top card of your deck at this location. or Strong Guy Strong Guy Ongoing: If your hand is empty, +6 Power. , this is one of the best options available. It is also far less reliant on specific Pool 3 pulls than many other archetypes. Please reach out to me on Discord at Scrub#2573 if you try it out!
