
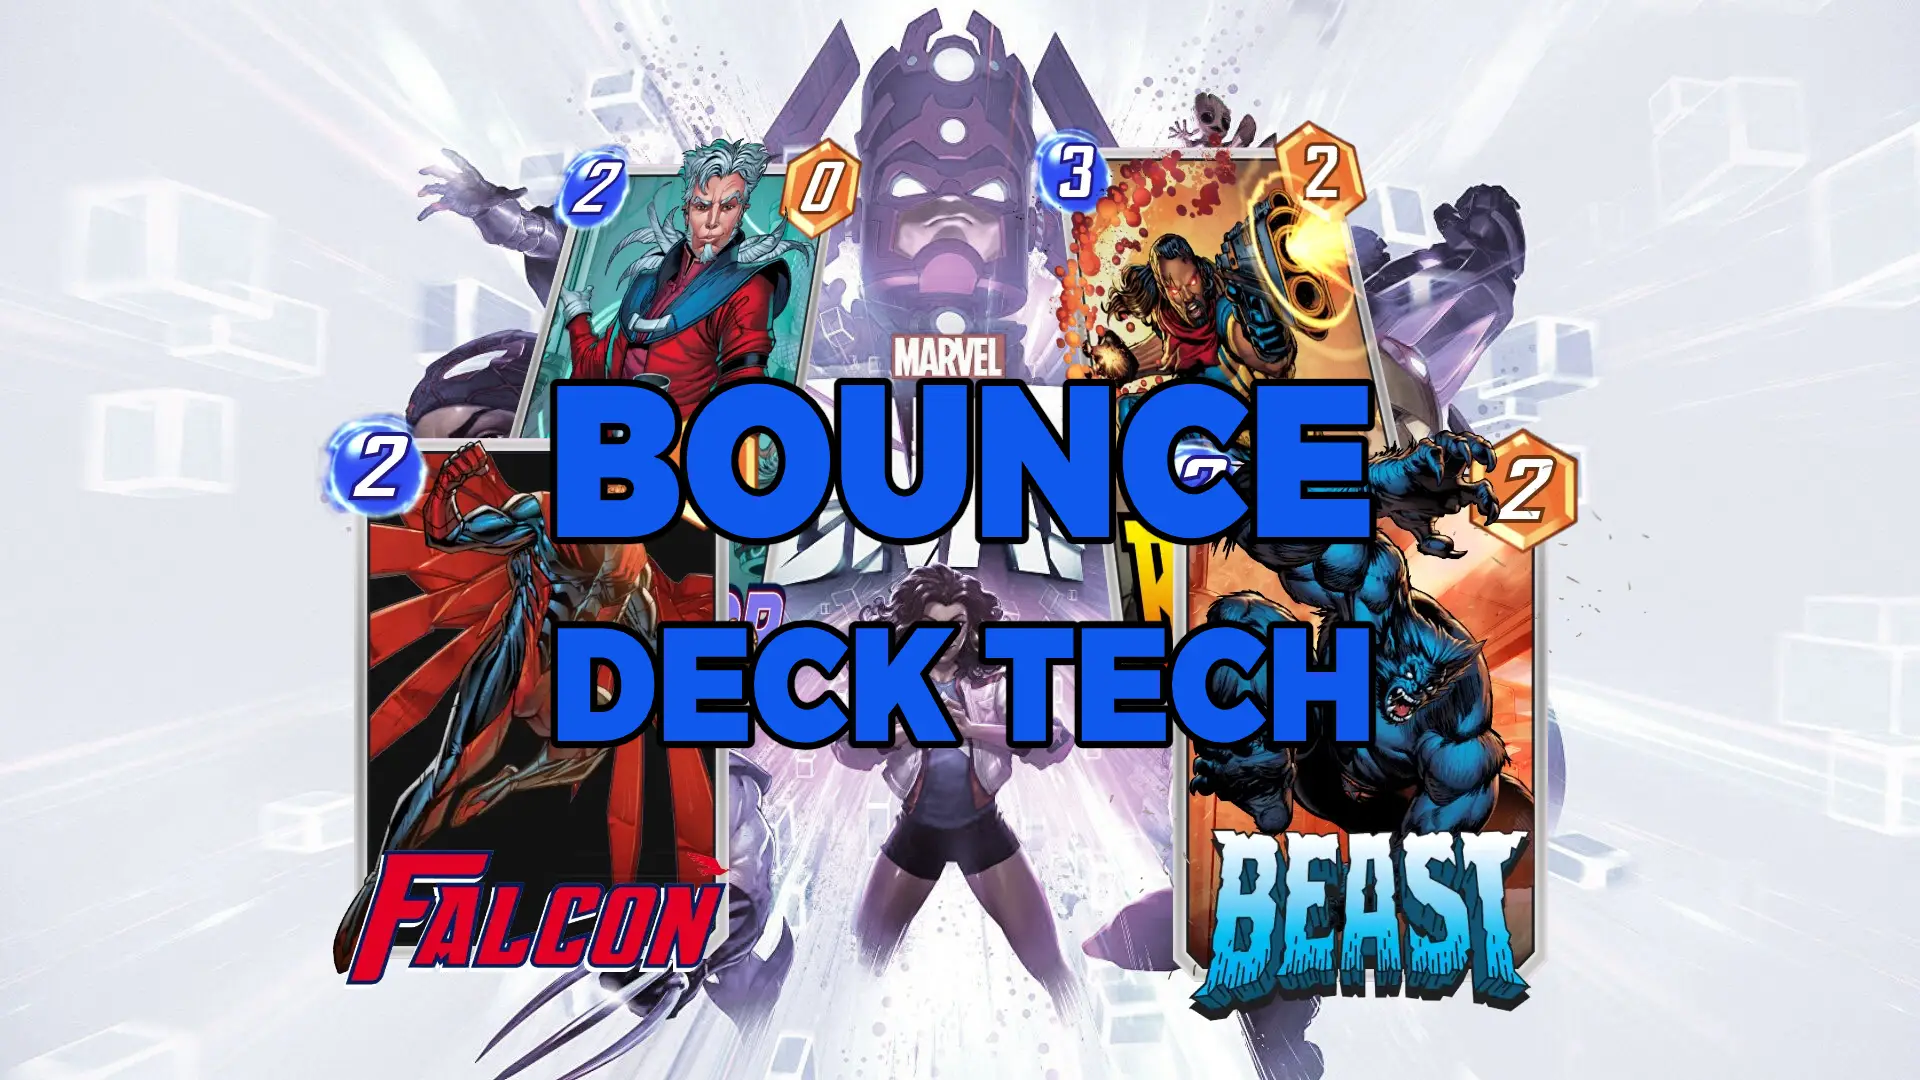
Hello, it’s Garretz here, and today we’re starting something new. We’ve reached the point when many players have some access to pool 3 cards, and if you still don’t, it won’t take long until you do. So I’ll be releasing in the next few articles some deck techs for decks that feature a couple of Pool 3 cards, that way if you happen to pull them early, you can already try out the archetype. After all, it’s no use just being stuck using pools 1 and 2 cards, when pool 3 has so many cool and strong core cards.
Today what I bring to the table is the bounce archetype, which features 2 of the Pool 3 cards. You can even play this deck with only one of them, although it will definitely cost you some power, but you need at least one between Falcon 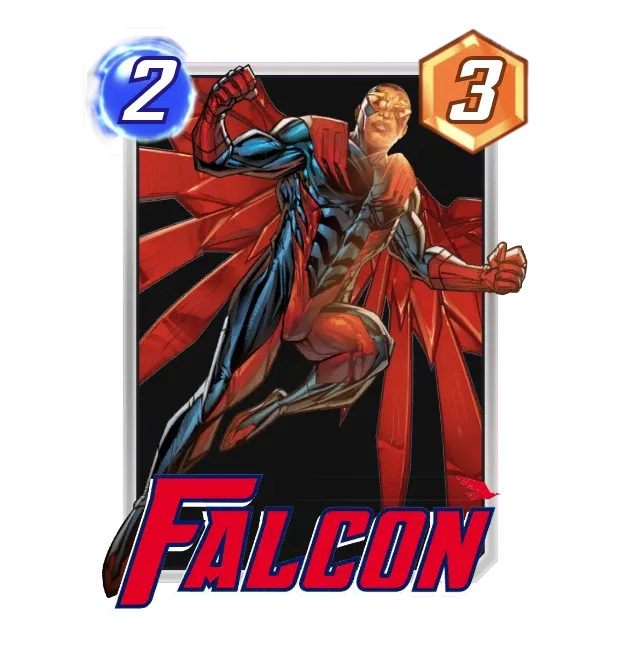 FalconOn Reveal: Return your 1-Cost cards to your hand. and Beast
 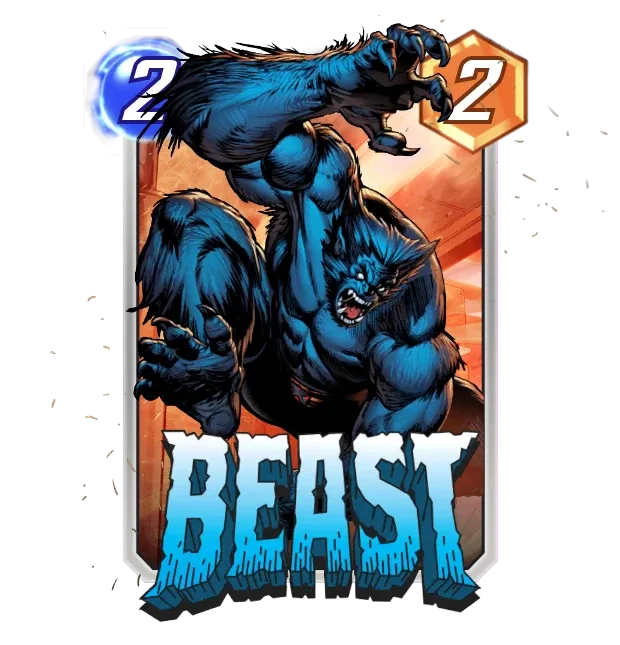 BeastOn Reveal: Return your other cards at this location to your hand. They cost 1 less. to make it work. These are the enablers for the strategy that make the rest of your deck able to generate a lot of power.

 The CollectorWhen a card enters your hand from anywhere (except your deck), +2 Power. BeastOn Reveal: Return your other cards at this location to your hand. They cost 1 less. FalconOn Reveal: Return your 1-Cost cards to your hand.
This is one of the many possible drafts for this archetype, so let me break down the core gameplan. The Collector The CollectorWhen a card enters your hand from anywhere (except your deck), +2 Power. gains 2 power everytime you add a card to your hand that isn’t from your deck. It counts created cards, it counts stolen cards from the enemy, and it also counts the bounced cards. If you’ve played Marvel Snap for some time already, you probably remember when Collector, Devil Dinosaur 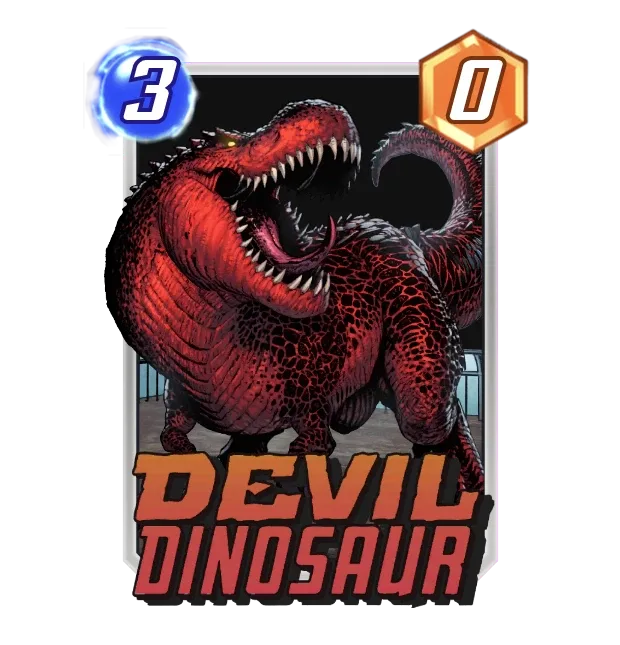 Devil DinosaurOngoing: +2 Power for each card in your hand. and Moon Girl
  Moon GirlOn Reveal: Duplicate your hand. were all around terrorizing the ladder. Since Moon Girl nerf, she hasn’t been the best way to buff Collector, but using Falcon almost feels like her unnerfed version.
 BishopWhen you play a card, this gains +1 Power.
Our second strong card is Bishop BishopWhen you play a card, this gains +1 Power.. Since every time you play a card, he gets one power, bouncing your one cost cards to play them again is a cheap way to play several cards, easily achieving 8+ power with him. Remember that Beast BeastOn Reveal: Return your other cards at this location to your hand. They cost 1 less. discounts your cards in the location it was played, but cards keep modifications when bounced, so you can bounce with Beast, play your 1 cost cards for 0, bounce with Falcon and play for 0 energy again.
Devil DinosaurOngoing: +2 Power for each card in your hand.
But wait, we spent energy on our cards, and now they’re coming back to our hand. Isn’t that supposed to be bad? Well, partially. In normal conditions, yes, if we spent too much energy playing and bouncing stuff, that energy could be well spent playing other cards with no pay off. Devil Dinosaur Devil DinosaurOngoing: +2 Power for each card in your hand. here helps with that sort of doubling our rewards for bouncing a card. You get 2 power from Collector and 2 power from Dino, and if you’re able to play those cards again, you gain even more points from Bishop.
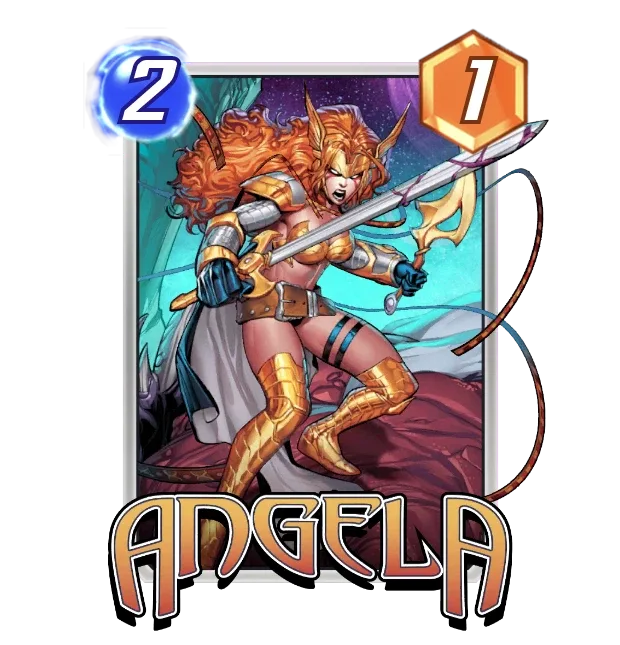 AngelaWhen you play a card here, +2 Power.
Our last card from this whole plan is Angela AngelaWhen you play a card here, +2 Power.. Today she’s probably one of, if not the best early generalist cards you get in the game. Unless you are ramping to bigger stuff and playing only 1 card per turn, decks can do 7 points with her quite reliably, and that can even grow when you do have certain synergies. I’d probably be willing to play her without synergy, but here we even have some: if we bounce a 1 cost card that was played on her location, we get new slots to play more cards. And even if we don’t have Falcon, we can bounce the whole location with Beast, because Angela will keep her power buff, being able to reach up to 13 power in the other location you play her for an extra 1 energy.
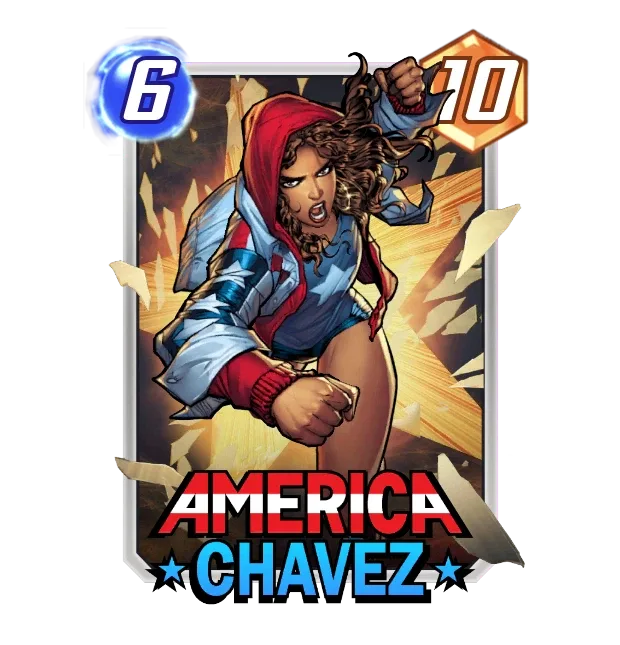 America ChavezYou always draw this card on turn 6, and not before.
So our big point machines are two 2-cost cards, one 3-cost card and one 4-cost card. What about America Chavez America ChavezYou always draw this card on turn 6, and not before.? Well, while you can use her to get many points in a single slot if needed in the last round, her main objective is making you play with a virtual 11 card deck. Angela, Bishop BishopWhen you play a card, this gains +1 Power., and The Collector The CollectorWhen a card enters your hand from anywhere (except your deck), +2 Power. lose a lot of their power when drawn in the last turn of the game, so you don’t really care about drawing them so late. Even the bounce cards won’t allow you to replay what you got back, so they aren’t amazing as well. Since your turn 6 draw is so weak due to the nature of the deck, America Chavez does a great job anticipating the power of your draw. She makes your T6 draw worse (which it would be regardless) in compensation for enhancing every other draw you’ve had in the game. Just for comparison, your chances of drawing any card by turn 5 is 66.7%. If you have Chavez in your deck, they increase to 72.7%. It’s also worth noticing that sometimes playing falcon on 5 will make you have a 7 card hand, not enabling you to draw America on T6. That’s fine, though, and it’s a part of her package. Adding a card from somewhere else other than your deck should be better than drawing her.
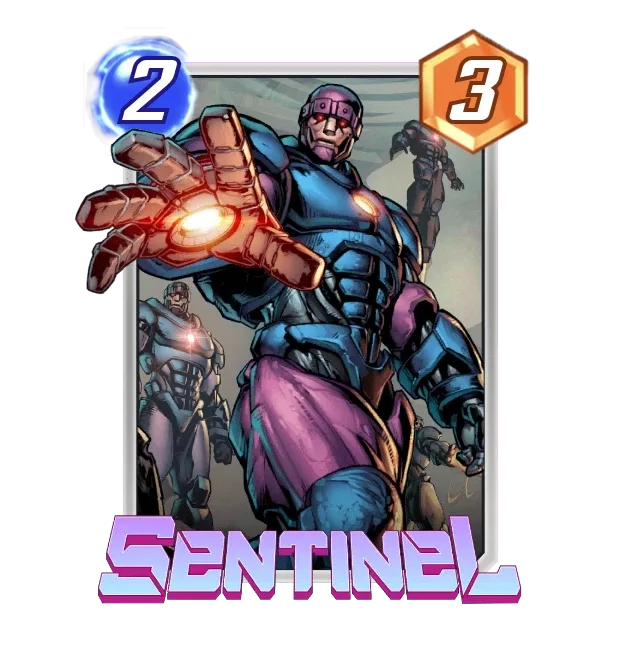 SentinelOn Reveal: Add another Sentinel to your hand.
  Agent 13On Reveal: Add a random card to your hand.
  MantisOn Reveal: If your opponent played a card here this turn, draw a card from their deck.
The rest of the cards are not quite as important as the ones mentioned so far. Sentinel SentinelOn Reveal: Add another Sentinel to your hand., Agent 13 Agent 13On Reveal: Add a random card to your hand., and Mantis MantisOn Reveal: If your opponent played a card here this turn, draw a card from their deck. help Collector and Devil Dinosaur build up even more points by giving you a bigger hand on their own. Rocket Raccoon  Rocket RaccoonOn Reveal: If your opponent played a card here this turn, +2 Power. keeps his power enhancement even when bounced, so he makes that energy you spent previously be rewarded nonetheless and Squirrel Girl
  Squirrel GirlOn Reveal: Add a 1-Power Squirrel to each other location. makes three 1 cost cards among all locations, enabling a great Falcon even when you drew only 1 or 2 1 drops. From those, I must add that Agent 13 is the most important of them all, and if any replacements were to be done, I’d heavily incentivize you to keep using her.
Adjustments
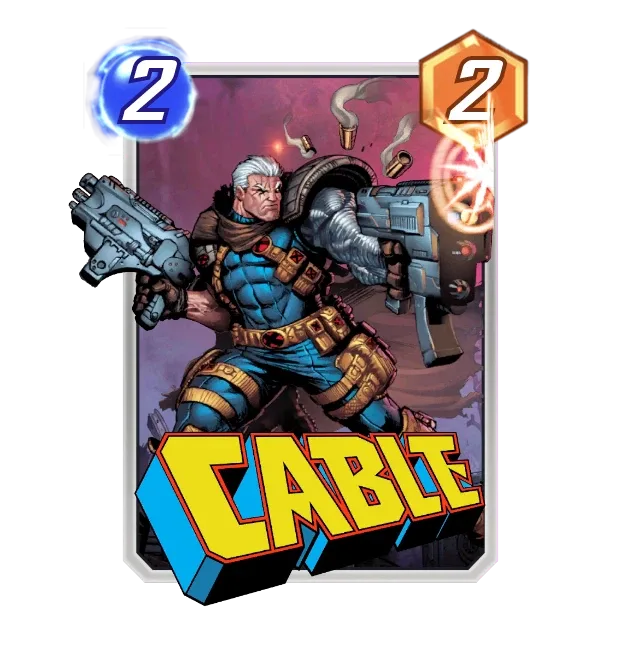 CableOn Reveal: Put the bottom card of your opponent's deck into your hand.
Now we must talk about replacements and possible changes to this deck. If you lack any of the bounce enablers, a good card for substitution is Cable CableOn Reveal: Put the bottom card of your opponent's deck into your hand.. He gives you some early insight on what is the opposing deck while also growing Collector and Dino. Depending on what you're facing, you can also use Scarlet Witch 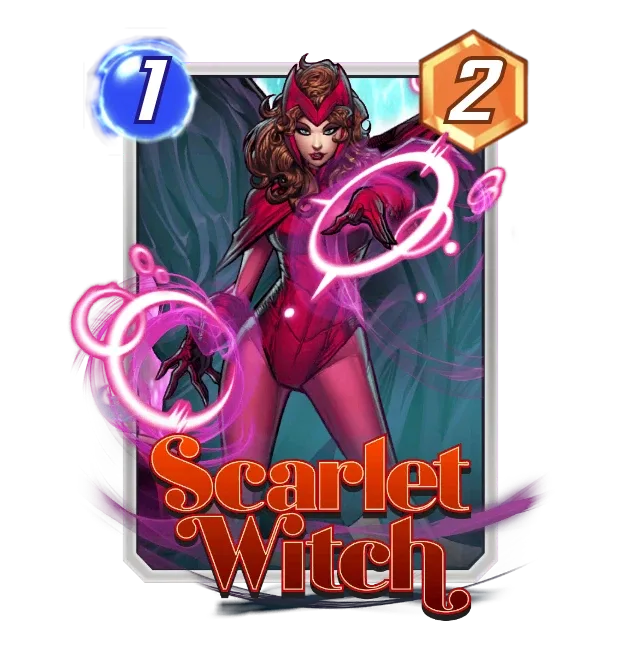 Scarlet WitchOn Reveal: Replace this location with a random new one. or Armor
 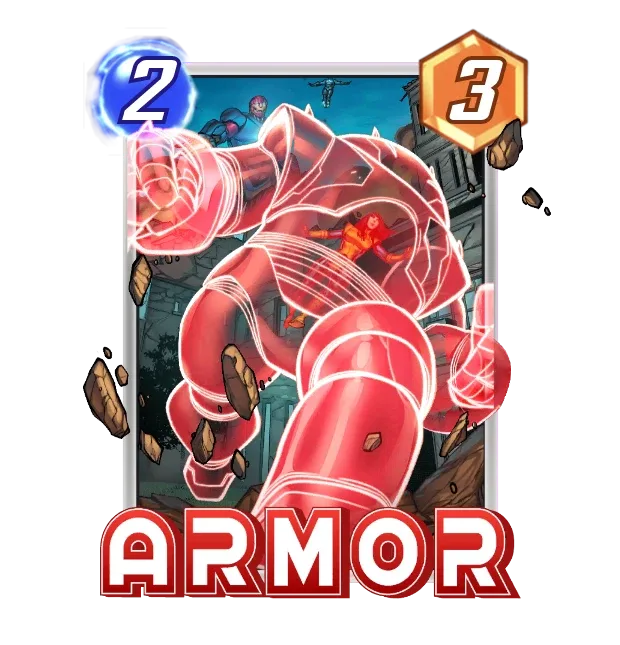 ArmorOngoing: Cards at this location can't be destroyed., as location disruption or removal protection. We gather our points in few, strong units, so we can't afford to have them destroyed. The 1 drops aren't as important as well. Be sure to have On Reveal effects on them, as that's the only way of avoiding the energy waste aspect of bounce, but that's all.
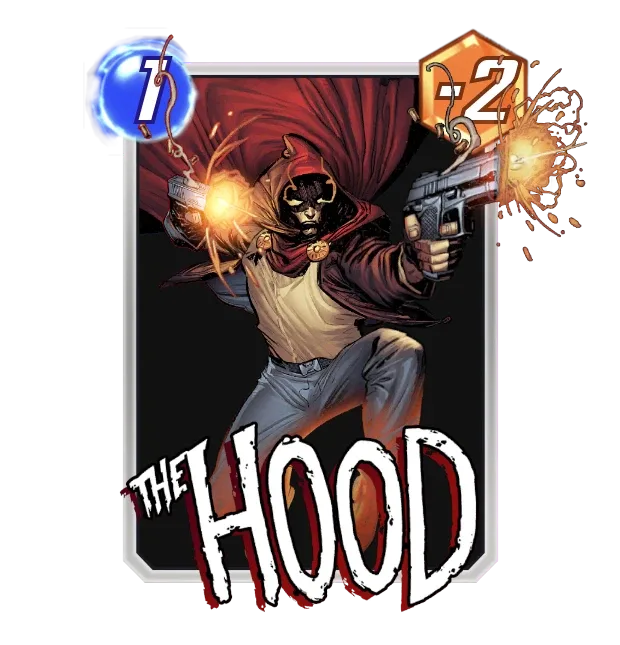 The HoodOn Reveal: Add a Demon to your hand.
It’s also possible to replace cards to make a more expensive version of this archetype as well. Another pool 3 card that is very welcome and that synergizes so strongly here is The Hood The HoodOn Reveal: Add a Demon to your hand.. He has the most powerful On Reveal effect among all 1 cost cards, while also adding something to your hand. If you do have him, don’t hesitate to use him here. You can replace any of the 1 drops who aren’t Agent 13.
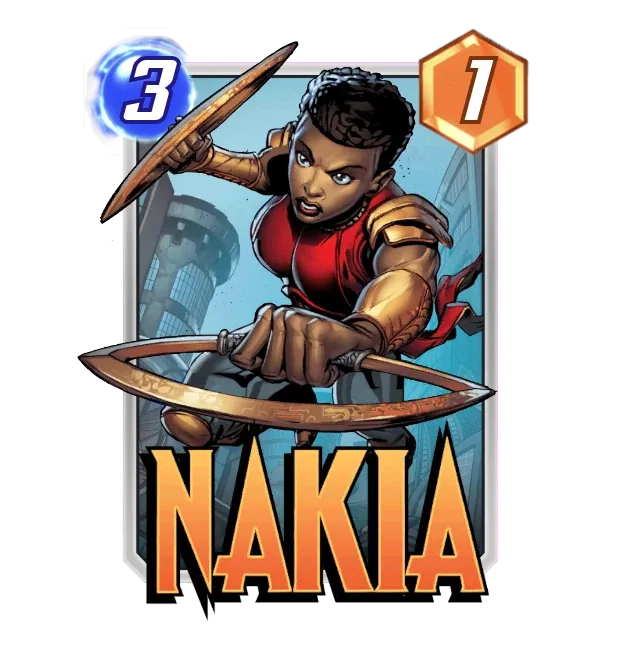 NakiaOn Reveal: Give all cards in your hand +2 Power.
I must confess Dino isn't the most comfortable card to be playing here, since we are running many low cost units, and while Agent 13 replaces herself always, Mantis' ability can fail. An alternative is to play Nakia NakiaOn Reveal: Give all cards in your hand +2 Power. instead, so that you don't have to worry about your hand size at the end of the last turn.
With Nakia, just be sure to play something until turn 2, because the energy costs here are higher than in the old miracle decks. You need that 2 energy from turn 2 to be able to execute your complete gameplan, and that 2 points from just one card aren’t that decisive. You probably also want to replace Mantis MantisOn Reveal: If your opponent played a card here this turn, draw a card from their deck. for Iceman  IcemanOn Reveal: Give a random card in your opponent's hand +1 Cost. (maximum 6), Korg
  KorgOn Reveal: Shuffle a Rock into your opponent's deck., or Elektra
 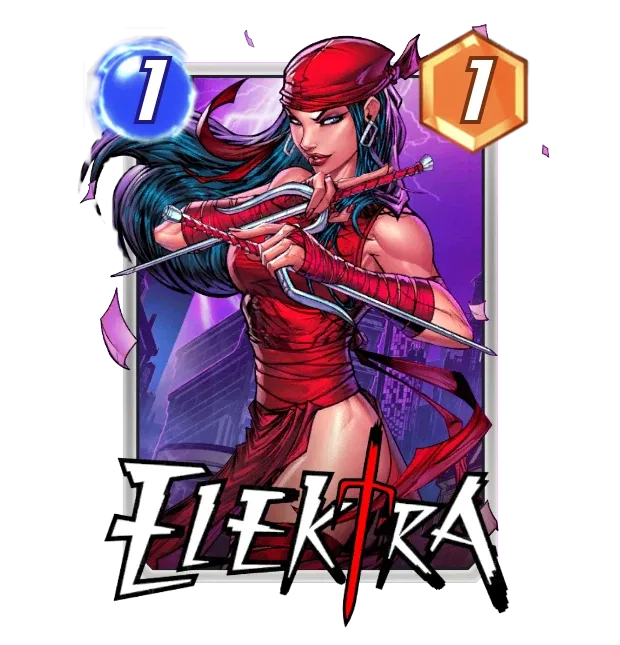 ElektraOn Reveal: Destroy a random enemy 1-Cost card at this location.. Drawing cards won't be quite as valuable, so you would rather get your rewards from play effects in some other, more reliable form. Also, differently from other Nakia decks, you're far more comfortable with playing her later, as on turn 5 you can play Falcon or Beast and her, allowing you to reallocate all your one drops and buff them for some extra power. This handbuff gameplan is less reliant on few, big units too, as our small units aren't that small anymore. An example list is provided below.

Snapping
Regarding snap and hand quality, there's the important half of the deck, which we covered firstly, and then the rest. I must also add that Collector should be your strongest card, yielding up to 20 points when paired with the bounces. So you should be looking for a snap when you have Collector, Bishop, and Falcon or Beast, as that should give you a lot of points. Having many 1 drops also helps, as they make the best use of the bounces.
As for going into early snaps, having your point engines is the core part. Beast and Falcon are important, but they're the supports for the other cards to pop off. By turn 1, we have seen half of the cards we will see through the whole game (4/8), so that can give you a pretty good amount of information for planning. You would want either one bounce and Collector, or 2 from your other high point cards. Establishing them early is important to get a high score, and that's the only way you can beat a hand that would snap onto you.
That’s it for today. We could feature 3 cards from pool 3 this time, those being Falcon FalconOn Reveal: Return your 1-Cost cards to your hand., Beast BeastOn Reveal: Return your other cards at this location to your hand. They cost 1 less., and The Hood The HoodOn Reveal: Add a Demon to your hand.. In the next few weeks more articles like this one will come, featuring other cards at each time, so that you can find the one deck with the cards you pulled, or even the characters you like the most!


