I’ll be bringing for you guys today something different than usual. Normally we talk about good decks and how to improve your gameplay (and those aspects will also sneak their way into this article), but that isn’t of much use if you don’t have the cards to craft those decks. You have no control over which cards you’ll gain, but what you do control is whether or not you’re earning the maximum amount of credits available by the game. For that, you need to be able to complete all your missions during your personal gameplay time.
So the first thing you should be doing, if you’re not already, is to get that 50 free credits available to you every day in the store. Treat it like a daily login reward, your most basic mission: just log in to the game. Since we’re talking about the store, avoid the Fast Upgrade section. The resources that should be withholding your advancement in the game are the credits, and they’re less effective in the store since you’re also paying for the needed boosters.
With that out of the way, let's get into the real deal. Every 8 hours, you get 2 new missions, refilling up to 6, so in one day you get a full stack. That means you have to be completing all 6 missions every day if you don’t want to miss any credits, and also you can separate one specific time daily to do it: as long as you don’t change it, you’ll always have a full stack without missing any missions.
Even for the players who play a lot after they complete their missions, thinking about being effective can be handy because eventually, everyone will have a busy day with just a short amount of time to dedicate to grinding this game. So my objective is to provide the tools for that, going through every quest in the game while focusing on pools 1 and 2 only.
It’s also important to notice that having a full stack will make it much more likely that your missions overlap, both by having the easy and hard versions of the same quest and by having 2 related quests, such as winning a location with over 20 power and winning a location with 4 cards. Thus, that also improves your time efficiency.
Missions:
| Mission | Easy version | Hard version |
| Play cards | 15 | 30 |
| Draw cards | 25 | 50 |
| Play X power worthy of cards | 100 power | 200 power |
| Play 1 cost cards | 6 | 12 |
| Play 2 cost cards | 5 | 10 |
| Play 3 cost cards | 4 | 8 |
| Play 4 cost cards | 3 | 6 |
| Play 5 cost cards | 3 | 6 |
| Play 6 cost cards | 2 | 4 |
| Win a location with over 20 power | 2 | 4 |
| Win a location with less than 10 power | 2 | 4 |
| Win a location with 4 cards | 2 | 4 |
| Win a location with only 1 card | 1 | 2 |
| Win with a snap | 1 | 2 |
| Win matches | 2 | 4 |
The first missions to be discussed are those that require less attention. Drawing cards, playing cards, and playing some amount of power worthy of cards are all missions that will be fulfilled by just playing the game, and your deck will have little impact on your ability to complete them. They take about 3 games on the easy version and about 6 games on the hard version to be completed, so just focus on your other tasks. Winning matches and winning with a snap is also in this category, in the sense that they require you to just win some games, so you don’t have to use any specific deck, as long as you use a working one.
Specifically, if you’re struggling with winning games with a snap, I suggest you read my other article on whether To Snap or not To Snap for general advice, or you can just snap sooner on your games just to complete it. You might lose some cubes overall, but people are more likely to go for a snap earlier in the game, so you can take that cost to get it out of your way.
I can’t mention losing cubes without mentioning the 2 peskier missions in this game. Winning a location with less than 10 power or with only 1 card is extremely hard. Unless the locations align to stop both you and your opponents from playing cards somewhere, chances are you’ll be doing more than 10 power in all of the locations, and if you do less, you’re probably going to lose that lane. Of course, it’s extremely hard to do more than that with only 1 card, so if you have a single card in a location, you’re unlikely to win it.
So for these missions, I advise you to let go of a couple of cubes, it’s the easiest way. You need a deck with only small units and the more oriented tempo ones. Your aim is to play until turn 3, take at least 2 locations and then retreat immediately, getting at least 50% of either mission on the hard mode.

At the cost of 2 cubes, you can complete both missions (especially if you have both on your roster). Here is a sample list of what you could use. You can switch any of these cards if you don’t have them, just try to replace them with a 2 energy 4 power or 1 energy 2 power, if possible. Also, don’t use Domino  DominoYou always draw this card on turn 2, and not before. or Quicksilver
  QuicksilverStarts in your opening hand., they’re bad.
In the opposite spectrum, you have “win a location with 4 cards” and “win a location with over 20 power”. Well, that is far easier. After all, if you’re committing 4 cards or more than 20 power, your opponent is less likely to be able to challenge that location and steal it from you.
For both, what you want is a more committed deck, which chooses 2 locations to play for and plays mostly for them. Iron Man 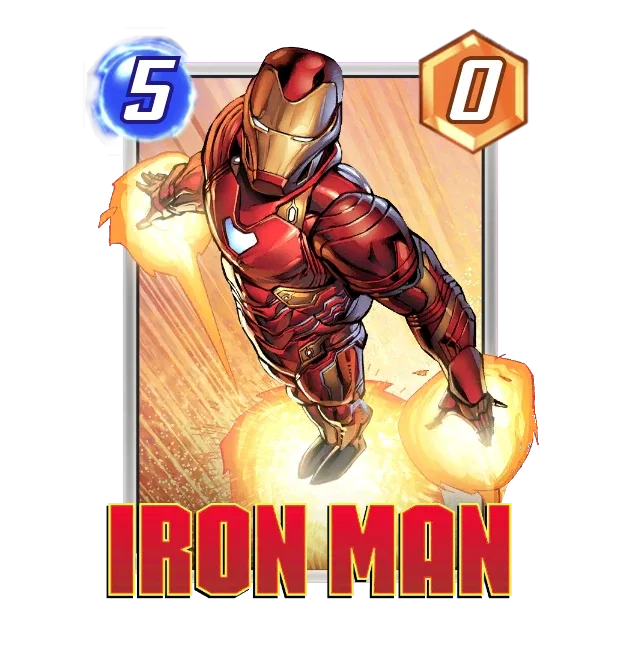 Iron ManOngoing: Your total Power is doubled at this location. and Ant-Man
 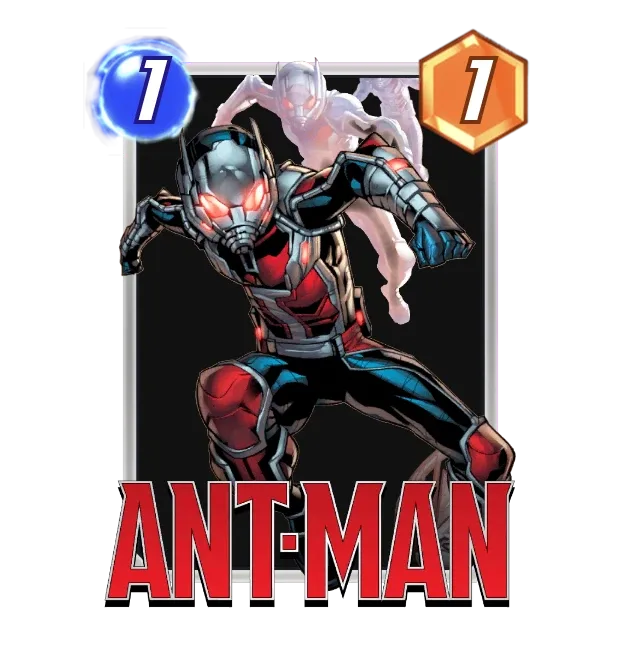 Ant-ManOngoing: If you have 3 other cards here, +3 Power. are exactly the types of cards you want to ensure you’ll have enough power to win. Also, remember that you only have 4 slots per location, so you need to do more than 5 power per slot to meet the requirement. Ideally, you must be able to do that for 2 locations at once. Here’s one example of what can be done:

This is a list you’re probably familiar with since it dominated the game for a while. With the recent patch, we can’t afford Kazar and Strong Guy 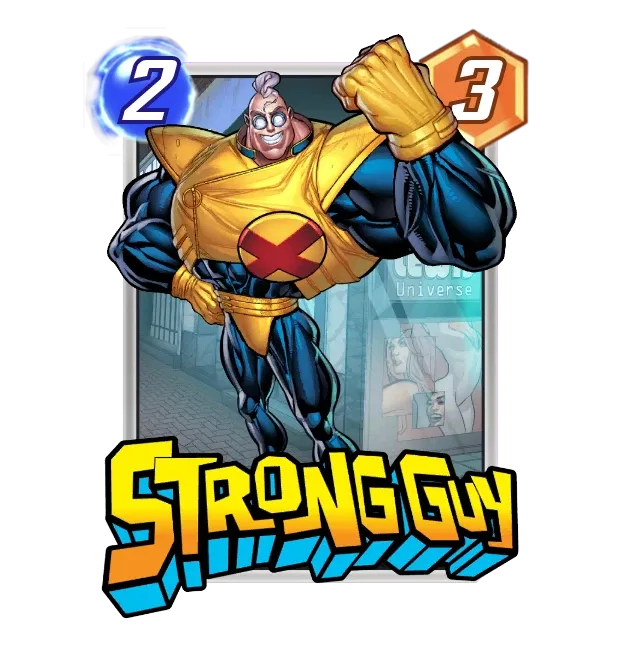 Strong GuyOngoing: If your hand is empty, +6 Power. together anymore, and since Kazar gives less power because of the low 1 cost unit count, I’d suggest you take him out. One important aspect is that Nakia
 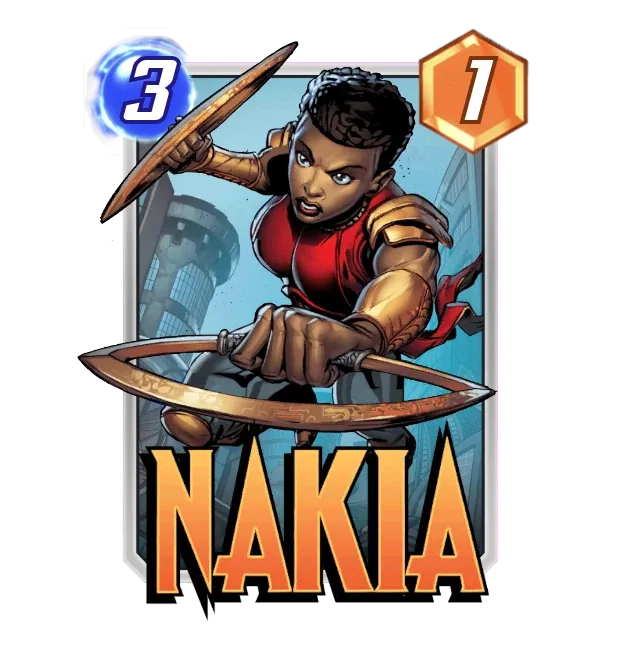 NakiaOn Reveal: Give all cards in your hand +2 Power. fills a space giving only 1 power, so while she helps get 4 cards in one location, she disturbs the plan of doing over 20 power. Since you draw 9 cards in a game, that is just enough to fill 2 locations while having only Nakia NakiaOn Reveal: Give all cards in your hand +2 Power. in the third one. You can check out more information about this type of deck in Stella’s Kazoo Deck Tech. It’s from before the patch, so it’s a bit outdated, but there’s still a lot that can be incorporated into your game plan.
As for last, you need to play each possible cost of a card. As a general rule of thumb, you can think like this: you see 75% of your deck in every match that goes until the end. Taking as reference the “draw cards” immutable match requirement (3 for easy, 6 for hard), we can establish a target for how many matches you need for each of those missions. The equation works as follows:
0.75 * # of cards from that cost in deck > # Cards required for the hard mission/6
Which is also
4.5 * # of cards from that cost in deck > # Cards required for the hard mission
So for 1 and 2 cost cards, you want at least 3 in your deck to fulfill the mission in time. For 3, 4, and 5, you need 2 different cards in your deck. For 6, you need 1. That is considering you actively want to play all those cards should you draw them. My advice is for 6-cost cards, if you’re not playing America Chavez  America ChavezYou always draw this card on turn 6, and not before., you can probably afford 2 6-cost cards in your deck to ensure you’ll have it by 6, to complete the mission in 4 games instead of 6. For 3 cost cards, 3 different cards would be ideal, although it’s hard because most of the 3 cost cards in pools 1 and 2 are very bad. For 1 cost cards, you can easily up that to 4 or 5, decks that want to play their 1 cost cards tend to use several of them. 2, 4, and 5 cost cards are fine being solved by math, you should still finish those missions within 4~6 games.
The list provided previously already solves for 1, 2, and 3 cost cards. If you switch Iron Man Iron ManOngoing: Your total Power is doubled at this location. for Kazar, it also solves the 4 cost card mission. So what’s left is providing 2 lists, one for 5 energy, and one for the 6 energy.

I know I just said you should ideally be playing 2 6 cost cards in your deck, but in the first 2 pools, there are no 6 cost cards that go along together, nor the required supports for multiple 6-drop decks (read: Electro  ElectroOn Reveal: +1 Max Energy. Ongoing: You can only play 1 card a turn. and Wave
  WaveOn Reveal: Next turn, cards in both players' hands cost 4.). You can play Hulk
  Hulk"HULK SMASH!", but he’s mostly just a bad card in the end. You could play an Apocalypse
  ApocalypseWhen you discard this from your hand, put it back with +4 Power. deck with America Chavez America ChavezYou always draw this card on turn 6, and not before. as a secondary plan, but that will make your opponents flee more often than you would want in the sixth turn. So, if you’re not fond of the On Reveal archetype, I’ll provide a list with just America Chavez America ChavezYou always draw this card on turn 6, and not before. that should work best for completing the mission.

I know it has Strong Guy Strong GuyOngoing: If your hand is empty, +6 Power.. I can’t help it, okay? I still think he’s good, and it’s not like you had too many great options of play patterns in pools 1 and 2. 4 energy for 10 power was even more than many Kazar would do before his nerf. With this, you want to play maybe Angela  AngelaWhen you play a card here, +2 Power. or Okoye
  OkoyeOn Reveal: Give every card in your deck +2 Power. on 2, Nakia NakiaOn Reveal: Give all cards in your hand +2 Power. on 3, and hopefully have a Swarm
  SwarmWhen this is discarded from your hand, add two 0-Cost copies to your hand. in hand to get buffed. Use discards on turn 5 to have a huge turn 6 of America Chavez America ChavezYou always draw this card on turn 6, and not before. with Swarm SwarmWhen this is discarded from your hand, add two 0-Cost copies to your hand..
Now all that’s left is a list with 2 5-cost cards, and given the lack of power and synergy elsewhere, we will have to look at the Ongoing package.

I’m not a fan of Klaw  KlawOngoing: +5 Power at the location to the right., but him with Warpath
  WarpathOngoing: If any of your locations are empty, +4 Power. and Onslaught
  OnslaughtOngoing: Double your other Ongoing effects at this location. can probably put in the work to win the third lane even if it’s empty. When you don’t draw your 6 drops, you can use both your 5 drops in a game, doubling your quest progress. After all, remember that I’m not here selling you the decks that are going to demolish the meta, but rather something that can win you some cubes while still progressing specific missions you could have difficulty otherwise.
I wish you all the best of luck on the battlefields!


